Delicious Cheese Danish Recipe From Scratch: A Step-by-Step Guide
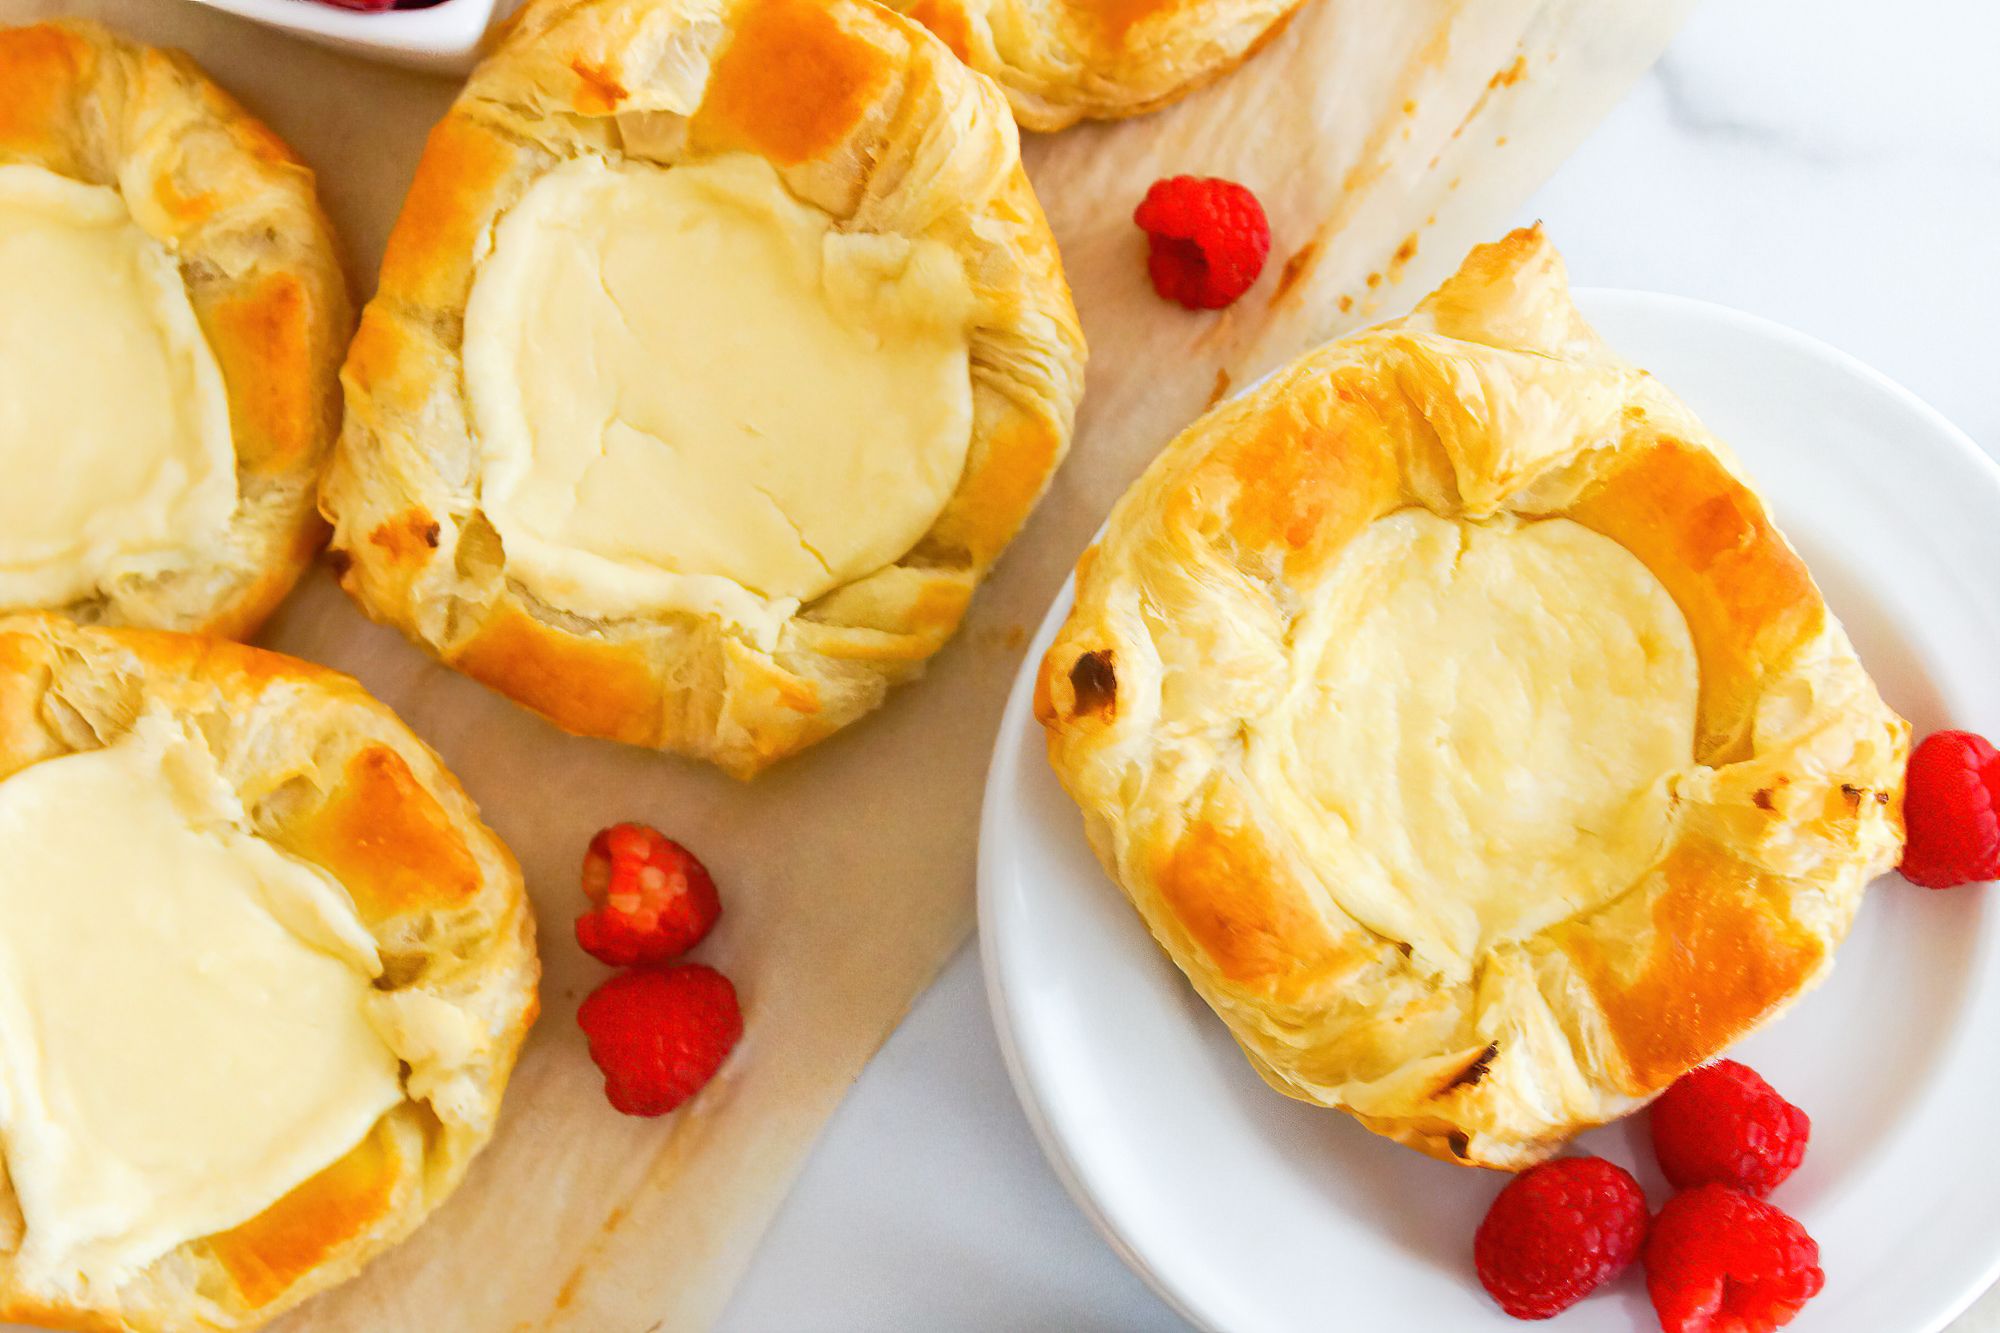
Imagine sinking your teeth into a warm, buttery pastry layered with a creamy, cheesy filling that melts in your mouth. Sounds irresistible, doesn’t it? The cheese danish is a timeless treat that has delighted taste buds for generations, offering the perfect balance of flaky dough and rich, tangy filling. Whether you’re an experienced baker or a beginner, making a cheese danish from scratch can seem daunting at first. But with the right guidance, you’ll be amazed at how simple and rewarding the process can be.
While store-bought cheese danishes are convenient, nothing compares to the aroma and flavor of one freshly baked in your kitchen. By preparing your danish from scratch, you have complete control over the ingredients, ensuring a wholesome and delicious result. From choosing the perfect cheese to mastering the art of pastry dough, this guide will walk you through every step of creating a cheese danish that’s sure to impress your family and friends. Plus, you’ll gain the confidence to experiment with variations and make this recipe your own.
Not only is baking a cheese danish a rewarding experience, but it’s also a wonderful way to spend quality time in the kitchen. Whether you’re whipping up a batch for breakfast, brunch, or dessert, this pastry is versatile enough to suit any occasion. By the end of this article, you’ll have all the tools and knowledge you need to create a cheese danish recipe from scratch that’s both delicious and unforgettable. So, let’s dive in and explore the magic of homemade pastries!
Read also:Wendy Williams Pass Out On Show What Really Happened And Why It Matters
Table of Contents
- How to Make Perfect Pastry Dough?
- Choosing the Right Cheese for Your Filling
- Step-by-Step Guide to Assembling Your Danish
- What Are the Best Tips for Baking?
- Can You Freeze a Cheese Danish for Later?
- Cheese Danish Recipe from Scratch: Ingredients and Instructions
- Common Mistakes to Avoid When Making Danishes
- How to Add a Personal Touch to Your Danish?
How to Make Perfect Pastry Dough?
Creating the perfect pastry dough is the foundation of any great cheese danish recipe from scratch. The key to achieving flaky, buttery layers lies in the technique and ingredients you use. Start with high-quality all-purpose flour, unsalted butter, and ice-cold water. The cold butter is essential because it creates pockets of steam during baking, which results in those delightful flaky layers.
Begin by combining the flour and a pinch of salt in a mixing bowl. Cut the cold butter into small cubes and use a pastry cutter or your fingers to incorporate it into the flour until the mixture resembles coarse crumbs. Be careful not to overwork the dough, as this can lead to a tough texture. Gradually add the ice-cold water, one tablespoon at a time, until the dough comes together. Once it’s ready, shape it into a disc, wrap it in plastic wrap, and let it chill in the refrigerator for at least 30 minutes.
While chilling the dough, you can prepare your workspace for rolling. Dust your surface with flour and gently roll the dough into a rectangle. Fold it into thirds, like a letter, and rotate it 90 degrees. Repeat this process two more times, chilling the dough between folds. This technique, known as lamination, is what gives the dough its signature flakiness. With your pastry dough ready, you’re one step closer to a mouthwatering cheese danish.
Why Is Chilling the Dough Important?
Chilling the dough is a crucial step that many novice bakers overlook. When the dough is cold, the butter remains solid, which prevents it from melting too quickly in the oven. This ensures that the layers of dough puff up beautifully during baking, creating that light and airy texture. Additionally, chilling relaxes the gluten in the dough, making it easier to roll out without shrinking back.
What Tools Do You Need for Pastry Dough?
- Pastry cutter or food processor
- Rolling pin
- Plastic wrap
- Measuring cups and spoons
- Flour for dusting
Choosing the Right Cheese for Your Filling
The filling is the star of your cheese danish recipe from scratch, and choosing the right cheese is essential for achieving the perfect balance of flavor and texture. Cream cheese is the most popular choice due to its creamy consistency and mild tanginess. However, you can also experiment with ricotta or mascarpone for a slightly different taste and texture.
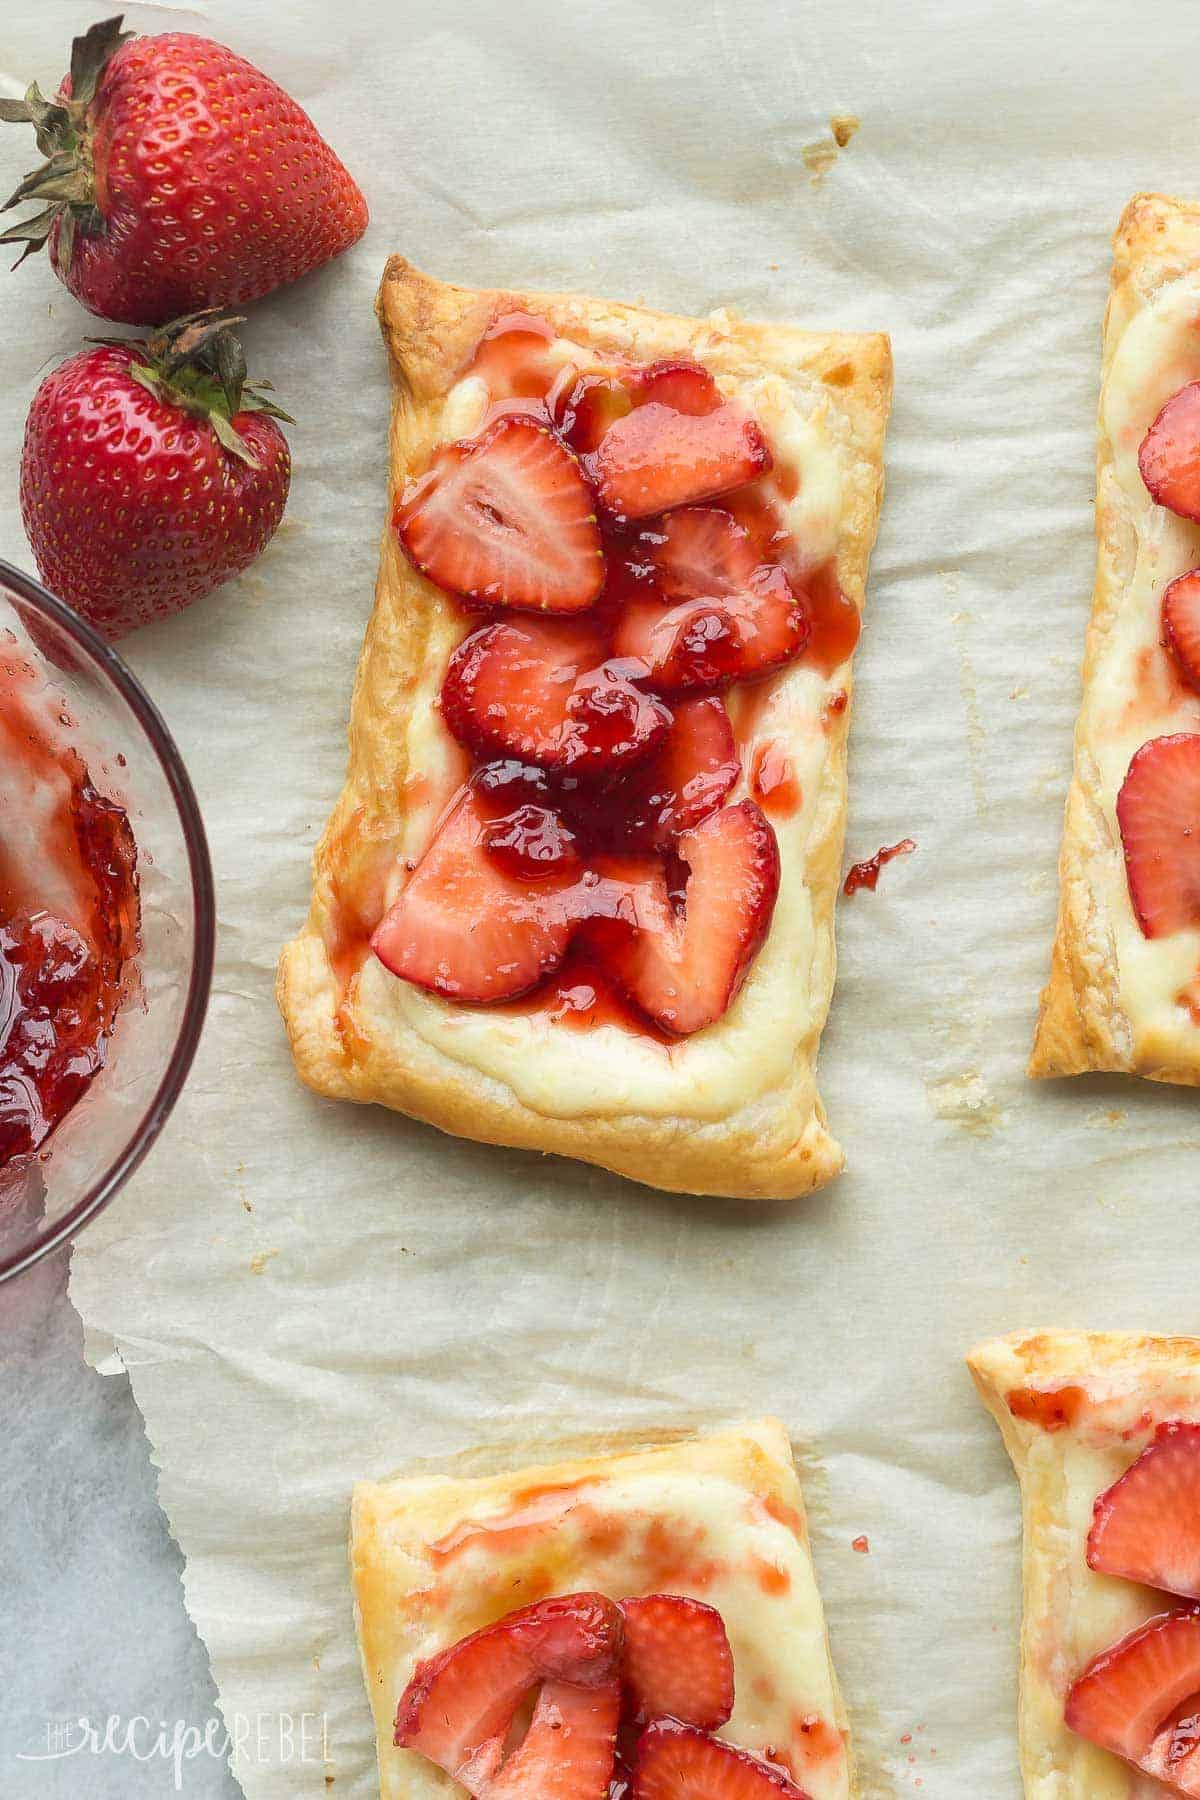
For a classic cream cheese filling, blend softened cream cheese with sugar, vanilla extract, and a pinch of salt. If you prefer a richer flavor, add a splash of lemon juice or zest to brighten the filling. For those who enjoy a bit of texture, consider folding in small pieces of fresh fruit or a sprinkle of cinnamon. The possibilities are endless, and the filling can be tailored to suit your preferences.
Read also:Ncis Tony And Ziva Release Date Everything You Need To Know
When selecting your cheese, opt for high-quality, full-fat varieties to ensure a rich and creamy filling. Low-fat or non-fat options may result in a grainy texture that doesn’t blend well with the other ingredients. Remember, the quality of your ingredients directly impacts the final product, so don’t skimp on the cheese!
Step-by-Step Guide to Assembling Your Danish
Assembling your cheese danish is where the magic happens. Once your dough is rolled out and your filling is prepared, it’s time to bring everything together. Start by cutting the dough into squares or rectangles, depending on your preference. Place a generous spoonful of the filling in the center of each piece, leaving enough space around the edges to seal the danish.
To create the iconic braided look, make diagonal cuts along the edges of the dough, alternating sides. Fold the strips over the filling, overlapping them slightly to form a lattice pattern. This not only makes the danish visually appealing but also helps contain the filling during baking. If you’re short on time, you can simply fold the edges of the dough over the filling for a simpler design.
Before baking, brush the danish with an egg wash made from beaten egg and a splash of milk. This gives the pastry a golden-brown sheen and adds a touch of sweetness. Place the assembled danishes on a baking sheet lined with parchment paper, leaving space between each one to allow for expansion. Bake in a preheated oven until the pastry is golden and the filling is set.
What Are the Best Tips for Baking?
Baking is both an art and a science, and following a few key tips can make all the difference in your cheese danish recipe from scratch. First, always preheat your oven to the correct temperature before placing your danishes inside. This ensures even baking and prevents the pastry from becoming soggy.
Another important tip is to avoid opening the oven door too frequently while baking. Doing so can cause the temperature to drop, which may result in unevenly baked pastries. If you’re unsure whether your danishes are done, look for a golden-brown color and a slightly firm filling. You can also insert a toothpick into the center; if it comes out clean, your danishes are ready.
How Do You Know When the Danish Is Done?
A perfectly baked cheese danish should have a golden crust and a filling that’s set but still slightly soft. Overbaking can lead to a dry filling, while underbaking may result in a doughy texture. Trust your instincts and use visual cues to determine doneness.
Can You Freeze a Cheese Danish for Later?
One of the great things about making a cheese danish recipe from scratch is that you can prepare them in advance and freeze them for later use. To freeze unbaked danishes, assemble them as usual and place them on a baking sheet. Once frozen solid, transfer them to an airtight container or freezer bag. They can be stored in the freezer for up to three months.
When you’re ready to bake, simply remove the danishes from the freezer and let them thaw in the refrigerator overnight. Brush them with egg wash and bake as directed, adding a few extra minutes to the baking time if needed. This method is perfect for busy mornings or unexpected guests.
Cheese Danish Recipe from Scratch: Ingredients and Instructions
Now that you’ve learned the basics, here’s a complete cheese danish recipe from scratch to try at home. Gather the following ingredients:
- 2 cups all-purpose flour
- 1 cup unsalted butter, cold
- 1/2 cup ice-cold water
- 8 oz cream cheese, softened
- 1/2 cup sugar
- 1 tsp vanilla extract
- 1 egg, beaten (for egg wash)
Follow the steps outlined in the previous sections to prepare the dough, filling, and assembly. Bake at 375°F (190°C) for 20-25 minutes, or until golden brown. Let the danishes cool slightly before serving.
Common Mistakes to Avoid When Making Danishes
Even experienced bakers can make mistakes when working with pastry dough. One common error is overworking the dough, which can lead to a tough texture. Another is using warm butter, which prevents the layers from forming properly. Always keep your ingredients cold and handle the dough as little as possible.
How to Add a Personal Touch to Your Danish?
Customizing your cheese danish is a fun way to make it your own. Try adding a drizzle of glaze made from powdered sugar and milk, or sprinkle chopped nuts on top for added crunch. You can also experiment with different fillings, such as fruit compote or chocolate ganache.
FAQs
What Can I Use Instead of Cream Cheese?
If you’re out of cream cheese, ricotta or mascarpone are excellent alternatives. They provide a similar creamy texture and pair well with sweet fillings.
How Long Do Cheese Danishes Stay Fresh?
When stored in an airtight container at room temperature, cheese danishes can stay fresh for up to two days. For longer storage, refrigerate or freeze them.
Can I Use Store-Bought Dough?
Yes, store-bought puff pastry can be used as a shortcut. While it won’t be as flaky as homemade dough, it’s a convenient option for busy days.
Conclusion
Making a cheese danish recipe from scratch is a rewarding experience that allows you to create a pastry tailored to your tastes. With the right techniques and a bit of practice, you’ll soon be baking danishes that rival those from your favorite bakery. So, roll up your sleeves, gather your ingredients, and get ready to impress with your homemade cheese danishes!
External Link
For more baking tips and tricks, check out this baking resource.