Mastering The Basics: How To Use A Jointer For Perfect Woodworking
Woodworking enthusiasts know that precision is key to creating flawless projects, and a jointer is one of the most essential tools for achieving that precision. Whether you're smoothing rough edges, flattening warped boards, or creating perfectly square edges, a jointer can transform your woodworking process. But how do you harness the full potential of this powerful tool? Understanding how to use a jointer properly is crucial for both beginners and seasoned woodworkers alike. With the right techniques, you can elevate your craftsmanship and ensure your projects stand out with professional-grade quality.
Using a jointer may seem daunting at first, but with a clear understanding of its components and functions, it becomes an indispensable part of your workshop. A jointer works by removing material from the surface of a board, creating a flat and even surface that serves as a foundation for further woodworking steps. This process is especially important when working with rough-sawn lumber, which often has uneven surfaces and imperfections. By mastering how to use a jointer, you can ensure that every piece of wood you work with is primed for success, whether you're building furniture, cabinetry, or intricate decorative pieces.
As you delve deeper into the world of jointers, you'll discover that the tool is not just about flattening wood but also about precision, safety, and technique. Learning how to use a jointer effectively involves understanding its mechanics, setting it up correctly, and maintaining it over time. This guide will walk you through everything you need to know, from the basics of jointer operation to advanced tips and troubleshooting. By the end, you'll have the confidence to tackle any project with this versatile tool in hand.
Read also:Luna Lovegood The Enigmatic Character Of Harry Potter
Table of Contents
- What is a Jointer and Why is it Essential for Woodworking?
- How Does a Jointer Work and What Are Its Key Components?
- How to Set Up Your Jointer for Optimal Performance
- Step-by-Step Guide: How to Use a Jointer Effectively
- Can a Jointer Be Used for Creative Woodworking Projects?
- How to Maintain and Care for Your Jointer
- What Are the Safety Precautions When Using a Jointer?
- Frequently Asked Questions About Using a Jointer
What is a Jointer and Why is it Essential for Woodworking?
A jointer, also known as a planer-jointer, is a woodworking machine designed to create flat surfaces along the length of a board. Its primary function is to remove material from the face or edge of a piece of wood, ensuring that it is perfectly flat and square. This is particularly important when working with rough-sawn lumber, which often has uneven surfaces due to the milling process. By using a jointer, woodworkers can achieve a smooth, even surface that serves as the foundation for further woodworking steps, such as planing, cutting, or gluing.
So, why is a jointer considered essential in woodworking? The answer lies in the precision it offers. Without a jointer, achieving perfectly flat and square edges can be a challenging and time-consuming task. This tool eliminates the guesswork, allowing woodworkers to create joints that fit together seamlessly. For example, when building furniture or cabinetry, having flat and square edges ensures that pieces align properly, resulting in sturdy and aesthetically pleasing projects. Additionally, a jointer is invaluable for preparing wood for glue-ups, as it ensures that surfaces are perfectly aligned, reducing gaps and improving the overall strength of the joint.
Beyond its practical applications, a jointer also enhances the quality of your work. It allows you to transform rough, uneven boards into smooth, professional-grade materials that are ready for finishing. Whether you're crafting intricate designs or working on large-scale projects, understanding how to use a jointer is a skill that can significantly elevate your woodworking capabilities. By mastering this tool, you can achieve consistent results and take your craftsmanship to the next level.
How Does a Jointer Work and What Are Its Key Components?
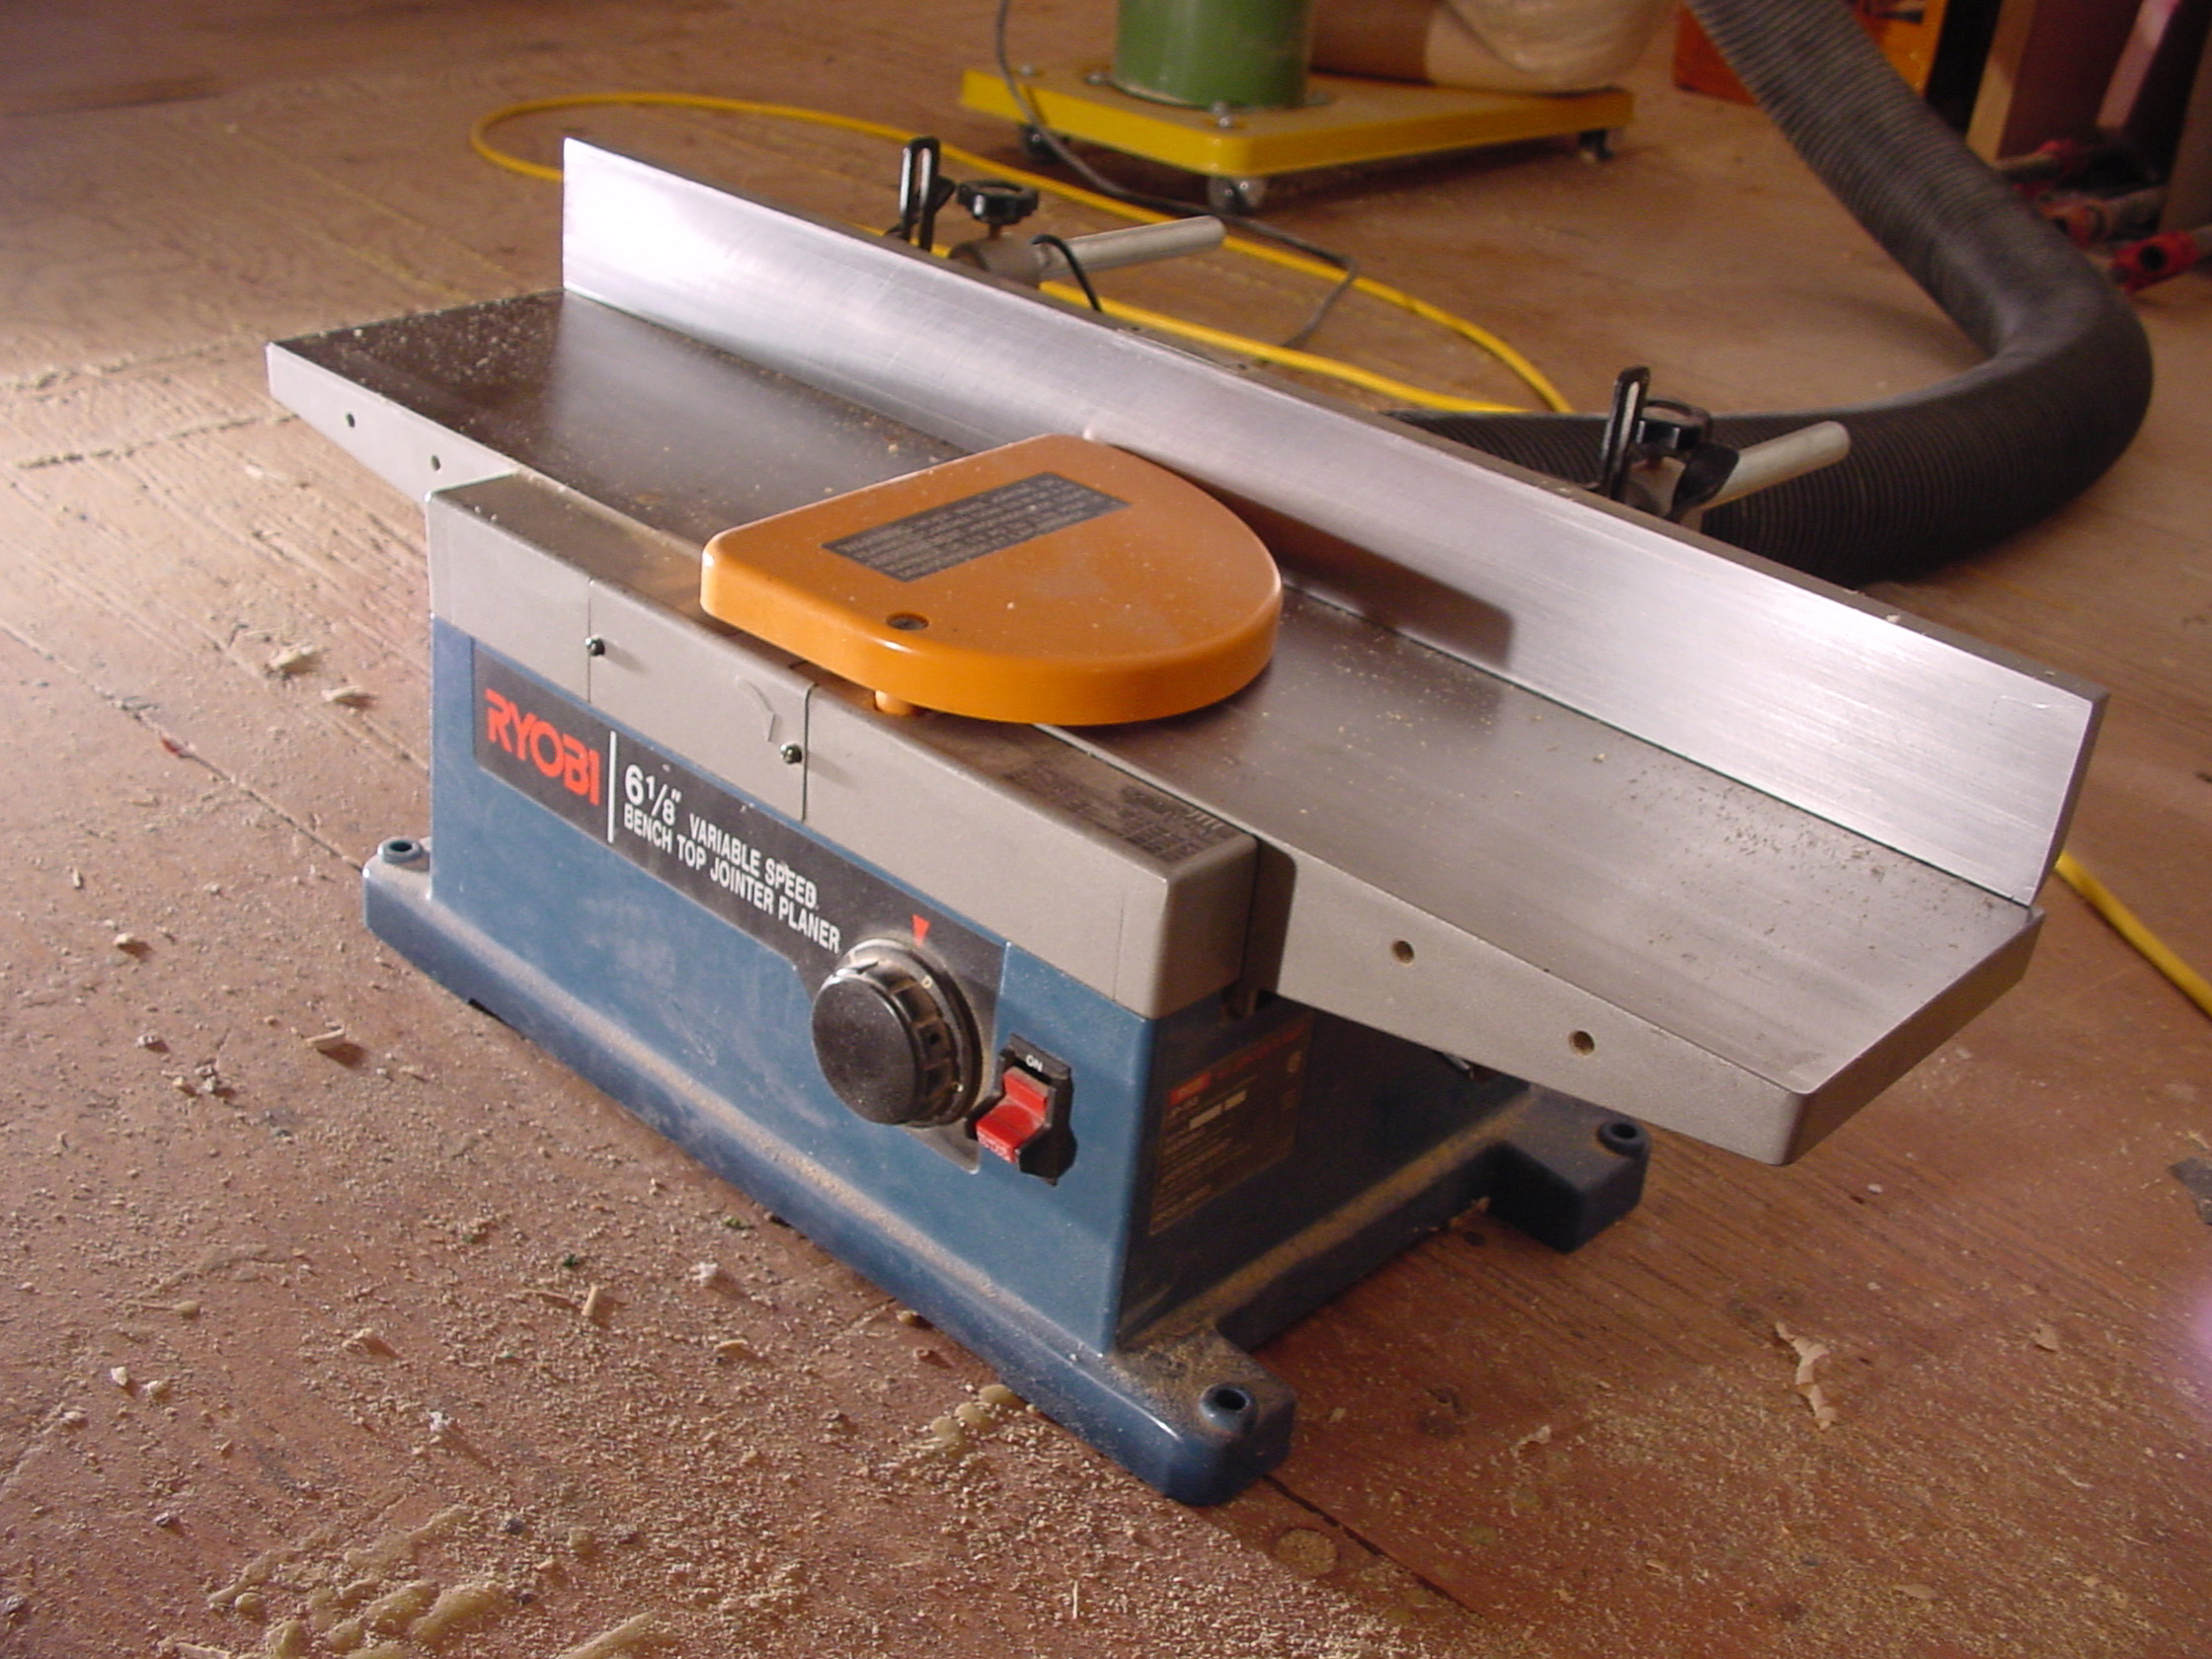
Understanding how a jointer works begins with familiarizing yourself with its key components. At its core, a jointer consists of a flat infeed table, an outfeed table, a cutter head, and a fence. The infeed table is where the wood is initially placed, while the outfeed table supports the wood as it exits the machine. The cutter head, located between the two tables, contains rotating blades that remove material from the wood's surface. The fence, adjustable to various angles, guides the wood and ensures that the desired edge or face is being worked on.
The jointer operates on a simple yet effective principle. As the wood is fed into the machine, the infeed table is set slightly lower than the outfeed table. This difference in height determines the depth of the cut, which can be adjusted based on the amount of material you want to remove. The rotating blades in the cutter head shave off thin layers of wood, creating a smooth and even surface. By adjusting the fence, you can also joint edges at different angles, making the tool versatile for various woodworking tasks.
But how does this process contribute to achieving precision in woodworking? The key lies in the jointer's ability to remove material consistently across the length of the board. This ensures that the surface is not only flat but also free of imperfections such as warps or twists. Additionally, the adjustable fence allows for precise control over the angle of the cut, making it possible to create square edges or beveled surfaces as needed. By mastering how to use a jointer, woodworkers can achieve professional-grade results, ensuring that every piece of wood is perfectly prepared for its intended purpose.
Read also:2018 Chinese Zodiac A Comprehensive Guide To The Year Of The Earth Dog
How to Set Up Your Jointer for Optimal Performance
Proper setup is crucial for ensuring that your jointer performs at its best. The first step is to check the alignment of the infeed and outfeed tables. These tables must be perfectly parallel to each other; otherwise, the jointer will not produce a flat surface. Use a straightedge or a precision level to verify their alignment. If you notice any discrepancies, adjust the tables according to the manufacturer's instructions. This step is vital, as even a slight misalignment can lead to uneven cuts and wasted material.
Next, focus on the cutter head and blades. Ensure that the blades are sharp and properly installed. Dull blades can cause tear-out and leave a rough finish on the wood. To check the blade height, place a piece of wood on the outfeed table and slowly rotate the cutter head by hand. The blades should just barely touch the wood, creating a slight mark. If the blades are too high or too low, adjust them accordingly. Proper blade height ensures that the jointer removes material evenly and produces a smooth surface.
Finally, adjust the fence to the desired angle. For most tasks, the fence should be set at 90 degrees to the tables, ensuring that the edges of the wood are perfectly square. However, you can also adjust the fence to create beveled edges or other angled cuts. Use a square to verify the angle before locking the fence in place. Once all these components are properly set up, your jointer will be ready to deliver optimal performance, allowing you to focus on the task at hand—how to use a jointer effectively.
Step-by-Step Guide: How to Use a Jointer Effectively
Now that your jointer is set up, it's time to dive into the step-by-step process of using it effectively. The first step is to inspect the wood you plan to joint. Look for any knots, splits, or other imperfections that could affect the jointing process. If the wood is excessively warped or twisted, you may need to flatten one face using a hand plane or another method before using the jointer. This ensures that the jointer can work efficiently and produce a flat surface.
Once the wood is ready, position it on the infeed table with the face or edge you want to joint facing down. Use the fence to guide the wood and ensure that it remains at the correct angle. Begin feeding the wood into the jointer slowly and steadily, applying even pressure. Avoid pushing too hard, as this can cause the wood to bounce or chatter, leading to an uneven cut. Instead, let the jointer do the work, guiding the wood with a light touch.
As the wood exits the jointer, support it with your hands or a push block to prevent it from tipping or binding. Continue feeding the wood until the entire surface has been jointed. For best results, make multiple light passes rather than trying to remove too much material in one go. This approach minimizes tear-out and ensures a smooth finish. By following these steps, you'll master how to use a jointer and achieve professional-quality results every time.
Preparing Your Wood for Jointing
Before you begin jointing, it's essential to prepare your wood properly. Start by selecting the right piece of lumber for your project. Look for boards that are straight and free of major defects, as these will be easier to work with. If the wood is rough-sawn, inspect it for any warps, twists, or cupping. These imperfections can make jointing more challenging, so it's important to address them beforehand.
One effective method for preparing warped wood is to use a hand plane to flatten one face. This creates a stable surface that can be placed on the jointer's infeed table. Alternatively, you can use a bandsaw to remove excess material and reduce the severity of the warp. Once the wood is prepped, mark the face or edge you plan to joint. This helps you stay organized and ensures that you're working on the correct surface.
Finally, check the moisture content of the wood. Wood that is too wet or too dry can behave unpredictably during jointing. Ideally, the moisture content should be between 6% and 8% for optimal results. Use a moisture meter to verify this before proceeding. By taking the time to prepare your wood, you'll set yourself up for success and make the process of how to use a jointer much smoother.
Common Mistakes to Avoid When Using a Jointer
Even experienced woodworkers can make mistakes when using a jointer. One common error is feeding the wood too quickly. Rushing the process can lead to uneven cuts and a rough finish. Instead, feed the wood slowly and steadily, allowing the jointer to remove material evenly. Another mistake is applying too much pressure. Pushing too hard can cause the wood to bounce or chatter, resulting in an uneven surface. Use a light touch and let the jointer do the work.
Another pitfall to avoid is neglecting to check the blade height. If the blades are set too high, they can remove too much material, leading to tear-out and a rough finish. On the other hand, if the blades are too low, the jointer may not remove enough material, leaving the surface uneven. Regularly check and adjust the blade height to ensure optimal performance. Finally, failing to maintain the jointer can lead to poor results. Keep the tables clean and free of debris, and regularly inspect the blades for dullness or damage. By avoiding these common mistakes, you'll master how to use a jointer and achieve consistent, high-quality results.
Can a Jointer Be Used for Creative Woodworking Projects?
While jointers are primarily known for their role in flattening and squaring wood, they can also be used creatively in woodworking projects. For instance, a jointer can help create beveled edges, which are often used in decorative trim or furniture design. By adjusting the fence to a specific angle, you can joint edges to create unique profiles that add visual interest to your projects. This versatility makes the jointer an invaluable tool for