Mastering The Art Of How To Sand Mudded Drywall For A Flawless Finish
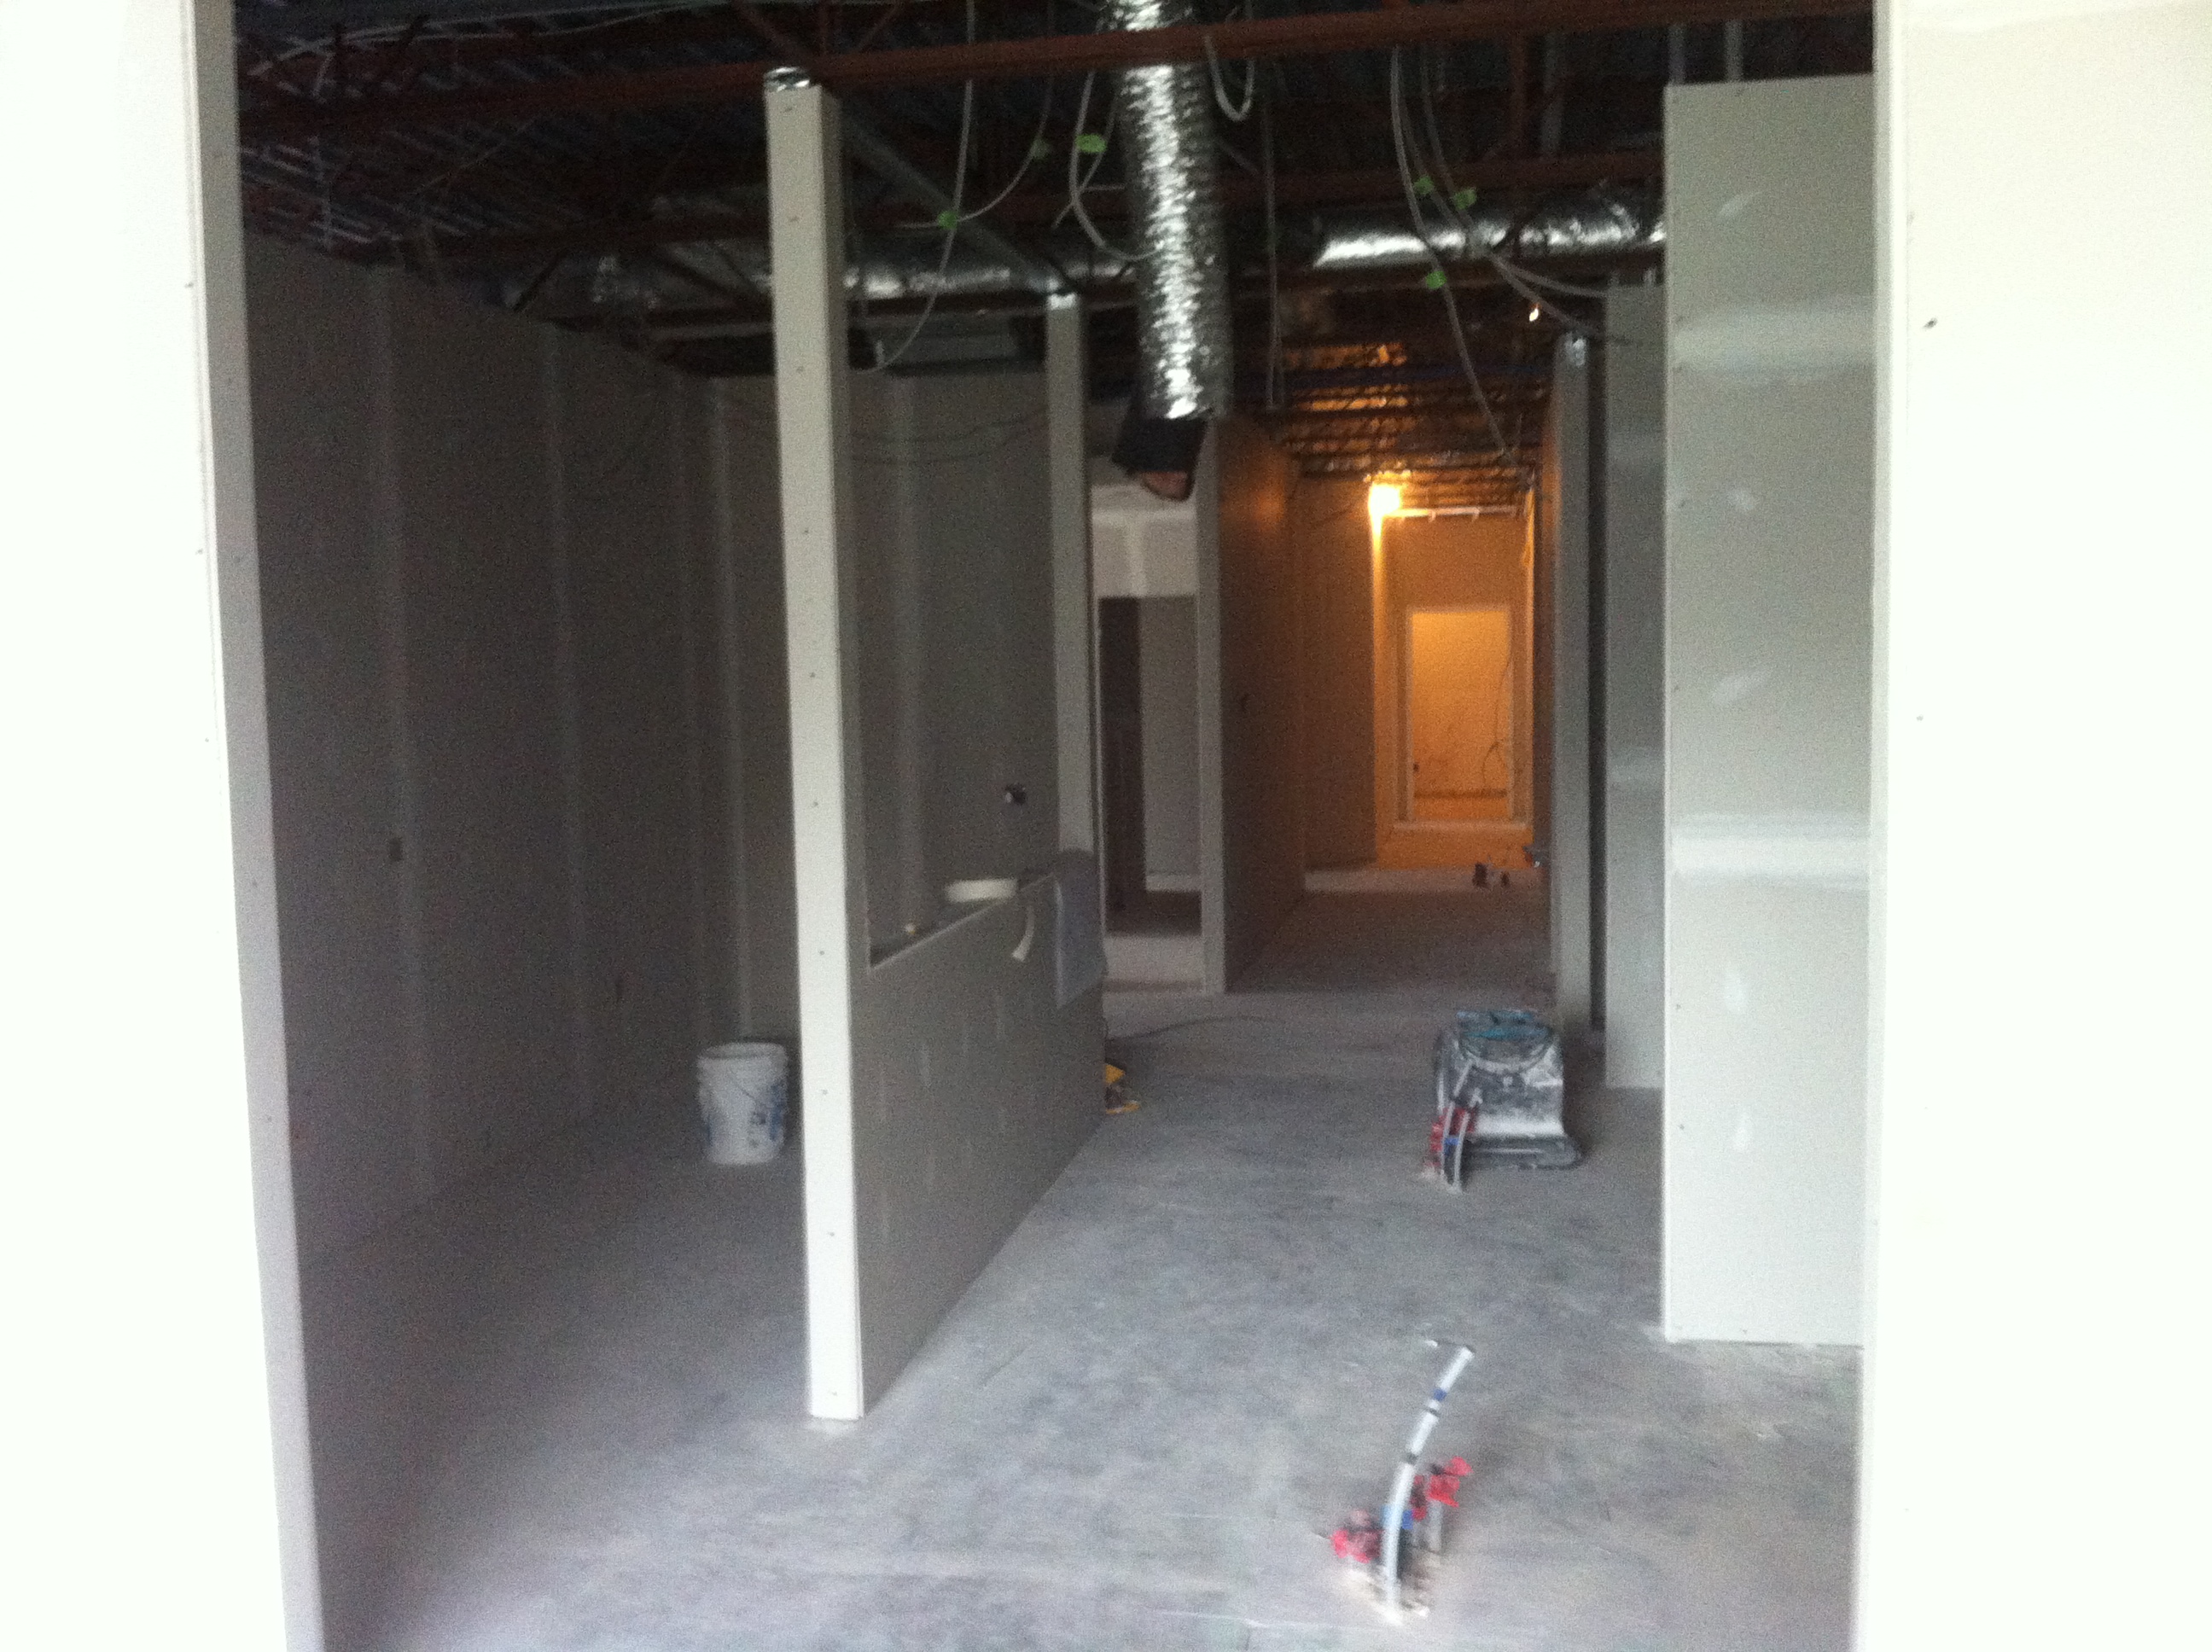
Finishing drywall is both an art and a science, and one of the most crucial steps in achieving a professional-grade finish is sanding mudded drywall. This process ensures that the joint compound (commonly referred to as "mud") blends seamlessly with the surface, leaving behind a smooth and uniform wall ready for painting or texturing. Whether you're a DIY enthusiast or a seasoned contractor, mastering the technique of sanding mudded drywall can elevate your project's quality and durability. Without proper sanding, imperfections like ridges, bumps, and uneven surfaces can mar the final result, making this step indispensable.
However, sanding mudded drywall isn't as simple as grabbing a piece of sandpaper and going to town. It requires the right tools, techniques, and attention to detail to avoid damaging the drywall or creating unnecessary dust. From selecting the appropriate grit sandpaper to understanding when and how to apply pressure, there's a lot to consider. Sanding improperly can lead to costly mistakes, such as gouging the drywall or leaving behind unsightly swirl marks. This guide will walk you through every step of the process, ensuring you achieve a flawless finish every time.
In this article, we’ll explore everything you need to know about how to sand mudded drywall, from preparation to final touches. You'll learn about the tools you'll need, common mistakes to avoid, and tips to make the process faster and more efficient. Whether you're repairing a small section of drywall or tackling an entire room, this guide will equip you with the knowledge and confidence to sand mudded drywall like a pro. Let’s dive in and uncover the secrets to achieving a smooth, professional finish that will leave your walls looking impeccable.
Read also:Understanding Bob Marleys Toe Infection Causes Impact And Lessons
Table of Contents
- Why Is Sanding Mudded Drywall Essential for a Professional Finish?
- What Tools Do You Need to Sand Mudded Drywall Effectively?
- How to Prepare Your Workspace for Sanding Mudded Drywall
- Step-by-Step Guide on How to Sand Mudded Drywall
- What Are the Common Mistakes to Avoid When Sanding Mudded Drywall?
- How Can You Achieve a Flawless Finish After Sanding?
- Why Is Dust Management Critical During the Sanding Process?
- Frequently Asked Questions About Sanding Mudded Drywall
Why Is Sanding Mudded Drywall Essential for a Professional Finish?
Sanding mudded drywall is a critical step in the drywall finishing process that ensures the surface is smooth, even, and ready for painting or texturing. Without proper sanding, the joint compound can leave behind ridges, bumps, or uneven patches that compromise the overall appearance of the wall. This step not only enhances the visual appeal but also contributes to the longevity of the finish by preventing imperfections that could lead to peeling paint or other issues over time.
One of the primary reasons sanding is essential is that it removes excess joint compound, which can accumulate during the taping and mudding process. Even the most skilled drywall finishers may leave behind slight imperfections, such as tool marks or uneven edges. Sanding smooths out these areas, blending the compound seamlessly with the drywall surface. Additionally, sanding creates a uniform texture, which is crucial for achieving an even coat of paint or texture.
Another benefit of sanding mudded drywall is that it prepares the surface for subsequent steps, such as priming and painting. A smooth, sanded surface ensures that the primer and paint adhere properly, reducing the likelihood of streaks, bubbles, or uneven coverage. By investing time and effort into sanding, you can achieve a professional-grade finish that enhances the overall aesthetic of your space and ensures durability for years to come.
What Tools Do You Need to Sand Mudded Drywall Effectively?
Having the right tools is essential for sanding mudded drywall effectively. Without the proper equipment, the process can become tedious, inefficient, and even counterproductive. Here’s a breakdown of the tools you’ll need to ensure a smooth and professional finish:
1. Sanding Tools
Sanding Block or Sanding Sponge: These handheld tools are ideal for small areas or touch-ups. They provide better control and are less likely to gouge the drywall compared to sandpaper alone.
Drywall Sanding Pole: For larger surfaces, a sanding pole with an attached sanding pad is indispensable. It allows you to reach high areas without straining and ensures even pressure across the surface.
Read also:Austin Ice Cream Shop Murders Unraveling The Chilling Mystery
2. Sandpaper Grits
Coarse Grit (80-120): Use coarse-grit sandpaper to remove excess joint compound and smooth out major imperfections. This grit is ideal for the initial sanding phase.
Fine Grit (150-220): After the coarse sanding, switch to fine-grit sandpaper to achieve a smooth finish. Fine grit is less abrasive and helps eliminate any remaining rough spots.
3. Dust Management Tools
Dust Mask or Respirator: Sanding generates a significant amount of dust, which can be harmful if inhaled. A high-quality dust mask or respirator is essential for protecting your lungs.
Vacuum with HEPA Filter: A vacuum equipped with a HEPA filter can help manage dust effectively by capturing fine particles before they settle on surfaces.
4. Additional Tools
Drop Cloths: Protect your floors and furniture by laying down drop cloths before you begin sanding. This makes cleanup much easier afterward.
Utility Knife: A utility knife is handy for trimming excess joint compound or removing dried bits that may interfere with sanding.
By equipping yourself with these tools, you’ll be well-prepared to tackle the task of sanding mudded drywall efficiently and effectively. Each tool plays a specific role in ensuring a smooth, professional finish while minimizing the mess and effort involved.
How to Prepare Your Workspace for Sanding Mudded Drywall
Before you begin sanding mudded drywall, it’s crucial to prepare your workspace thoroughly. Proper preparation not only makes the process smoother but also minimizes cleanup and ensures safety. Here’s a step-by-step guide to help you get your workspace ready:
1. Clear the Area
Start by removing any furniture, decor, or other items from the room. If moving everything isn’t feasible, push the items to the center of the room and cover them with drop cloths. This prevents dust from settling on your belongings and makes cleanup easier.
2. Protect Floors and Surfaces
Lay down heavy-duty drop cloths or plastic sheeting on the floors and over any remaining furniture. Use painter’s tape to secure the edges and prevent the coverings from shifting. This step is essential for containing dust and protecting surfaces from scratches or damage.
3. Seal Off Doorways and Vents
To prevent dust from spreading to other areas of the house, seal off doorways and vents with plastic sheeting and painter’s tape. You can also use a fan to create negative air pressure, which helps keep dust contained within the workspace.
4. Set Up Dust Management Tools
Position your vacuum with a HEPA filter nearby to capture dust as you work. If you’re using a sanding pole with a dust collection system, ensure it’s properly assembled and functioning. Having these tools ready will significantly reduce the amount of airborne dust.
5. Wear Protective Gear
Equip yourself with a dust mask or respirator, safety goggles, and gloves. Sanding generates fine particles that can irritate your eyes, skin, and respiratory system, so wearing protective gear is non-negotiable.
By following these preparation steps, you’ll create a safe and efficient workspace that allows you to focus on the task at hand. Proper preparation not only enhances your productivity but also ensures a cleaner and healthier environment while sanding mudded drywall.
Step-by-Step Guide on How to Sand Mudded Drywall
Sanding mudded drywall is a multi-step process that requires patience and attention to detail. By following these steps, you can achieve a smooth and professional finish that’s ready for painting or texturing.
Step 1: Inspect the Mudded Surface
Before you begin sanding, take a moment to inspect the mudded surface. Look for any imperfections such as ridges, bumps, or uneven edges. Use a flashlight to highlight these areas, as they may not be visible under normal lighting. Mark any problem spots with a pencil so you know where to focus your efforts during sanding.
Step 2: Start Sanding with Coarse Grit
Attach coarse-grit sandpaper (80-120 grit) to your sanding block or pole. Begin sanding the mudded areas using gentle, circular motions. Apply even pressure to avoid gouging the drywall. Focus on removing excess joint compound and smoothing out major imperfections. Be sure to sand lightly around the edges to prevent damaging the tape or paper.
Step 3: Switch to Fine Grit for a Smooth Finish
Once the major imperfections are addressed, switch to fine-grit sandpaper (150-220 grit). This step is crucial for achieving a smooth, even surface. Use the same circular motions, but reduce the pressure to avoid over-sanding. Pay special attention to transitions between the joint compound and the drywall to ensure a seamless blend.
Step 4: Inspect and Touch Up
After sanding, inspect the surface again under bright light. Look for any remaining imperfections or rough spots. Use a sanding sponge or block for touch-ups in tight or hard-to-reach areas. This final inspection ensures that the surface is ready for priming and painting.
Step 5: Clean Up the Dust
Once you’re satisfied with the sanding, it’s time to clean up. Use a vacuum with a HEPA filter to remove dust from the walls, floors, and surrounding areas. Wipe down the walls with a damp cloth to remove any remaining particles. Proper cleanup ensures a clean surface for the next steps in your project.
By following these steps, you can achieve a professional-grade finish when sanding mudded drywall. Each step builds on the previous one, ensuring a smooth and flawless surface that’s ready for the final touches.
What Are the Common Mistakes to Avoid When Sanding Mudded Drywall?
Even experienced DIYers and professionals can make mistakes when sanding mudded drywall. These errors can lead to costly repairs or a subpar finish. Here are some common pitfalls to avoid:
1. Applying Too Much Pressure
One of the most frequent mistakes is applying too much pressure while sanding. This can gouge the drywall or remove too much joint compound, leaving behind uneven surfaces. Instead, use light, even pressure and let the sandpaper do the work.
2. Skipping the Coarse Grit Step
Jumping straight to fine-grit sandpaper without using coarse grit first can make the process more difficult and time-consuming. Coarse grit is essential for removing excess compound and smoothing out major imperfections before fine-tuning the surface.
3. Neglecting Dust Management
Failing to manage dust