Delicious Recipe For Wafers: A Step-by-Step Guide
Craving a crispy, melt-in-your-mouth snack that’s both easy to make and utterly satisfying? Look no further than this ultimate recipe for wafers! Whether you're a seasoned baker or a kitchen novice, this guide will walk you through everything you need to know to whip up a batch of homemade wafers that rival your favorite store-bought treats. With just a few simple ingredients and some basic kitchen tools, you'll be on your way to creating a snack that’s perfect for any occasion—be it a cozy family gathering or a solo indulgence.
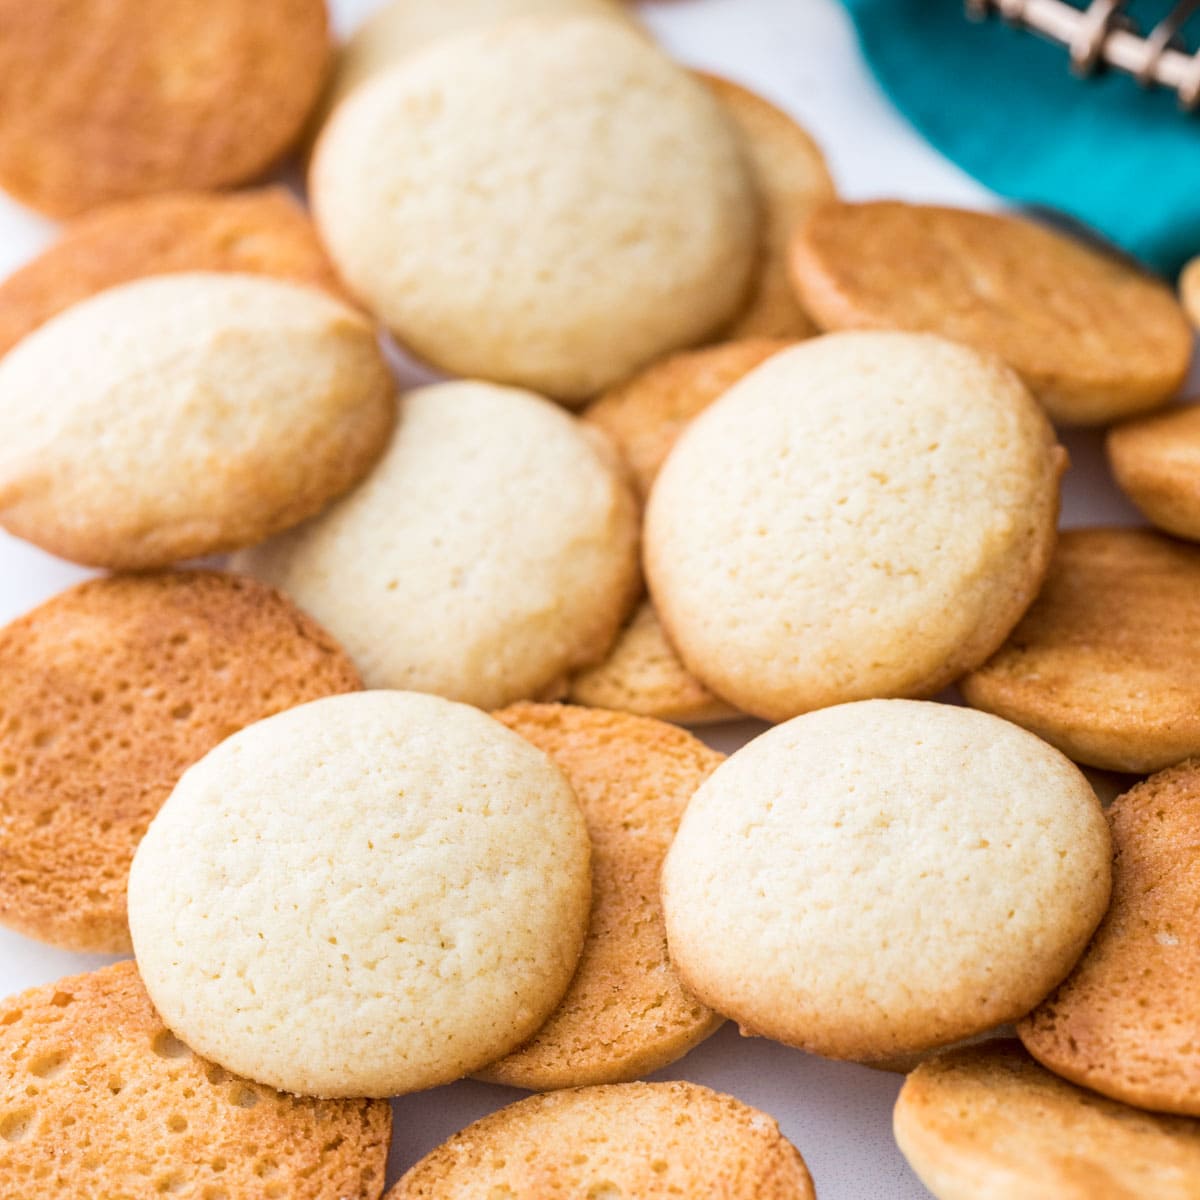
Wafers have been a beloved treat for generations, loved for their light texture and versatility. From classic vanilla wafers to chocolate-dipped delights, the possibilities are endless. This article dives deep into the art of making wafers, exploring not only the basic recipe but also tips, variations, and answers to common questions. By the end of this guide, you’ll have all the tools and knowledge to craft wafers that are as unique as your taste buds.
Before we get into the nitty-gritty of the recipe for wafers, let’s take a moment to understand what makes these treats so special. Wafers are not just about the crunch; they’re about the balance of flavors, the simplicity of preparation, and the joy of sharing something homemade. Whether you’re looking to impress your friends or simply satisfy a craving, this article is your go-to resource for mastering the art of wafer-making.
Read also:Wendys New Items A Comprehensive Guide To The Latest Menu Additions
Table of Contents
- What Makes a Perfect Wafer?
- How to Make Basic Vanilla Wafers
- Top Tips for Perfect Wafers
- Creative Ways to Use Wafers
- Can You Make Wafers Without a Wafer Iron?
- What Are the Best Ingredients for Wafers?
- Wafer Recipe Variations
- Frequently Asked Questions
What Makes a Perfect Wafer?
A perfect wafer is more than just a crunchy biscuit; it’s a harmonious blend of texture, flavor, and craftsmanship. Achieving this balance requires attention to detail, from selecting the right ingredients to mastering the cooking process. Let’s break down the key elements that contribute to the perfection of a wafer.
The Role of Ingredients
The foundation of any great wafer lies in its ingredients. Flour, sugar, eggs, and butter are the staples, but the quality of these ingredients can make or break your final product. For instance, using high-quality butter can enhance the richness of your wafers, while fine-grain sugar ensures a smoother texture. Additionally, flavorings like vanilla extract or cocoa powder can elevate the taste profile, making your wafers stand out.
Why Technique Matters
While ingredients are crucial, the technique is equally important. Mixing the batter correctly, ensuring even heat distribution, and timing the cooking process are all vital steps. Overmixing the batter, for example, can lead to dense wafers, while undercooking can result in a soggy texture. Mastering these nuances is what separates a good wafer from a great one.
How to Make Basic Vanilla Wafers
Now that we’ve covered the essentials, let’s dive into the recipe for wafers. This basic vanilla wafer recipe is a great starting point for beginners and can be customized to suit your preferences.
Ingredients You’ll Need
- 1 cup all-purpose flour
- 1/2 cup unsalted butter, softened
- 1/2 cup granulated sugar
- 1 large egg
- 1 teaspoon vanilla extract
- 1/4 teaspoon salt
Step-by-Step Instructions
- Mix the Dry Ingredients: In a bowl, whisk together the flour and salt. Set aside.
- Cream the Butter and Sugar: In a separate bowl, beat the butter and sugar until light and fluffy.
- Add the Egg and Vanilla: Beat in the egg and vanilla extract until fully incorporated.
- Combine Wet and Dry Ingredients: Gradually add the dry ingredients to the wet mixture, mixing until a smooth dough forms.
- Cook the Wafers: Preheat your wafer iron and lightly grease it. Drop small spoonfuls of dough onto the iron and cook until golden brown.
- Cool and Serve: Allow the wafers to cool on a wire rack before enjoying.
Top Tips for Perfect Wafers
Even the best recipes can benefit from a few expert tips. Here are some tried-and-true tricks to ensure your wafers turn out perfectly every time.
1. Chill the Dough
Chilling the dough before cooking can help prevent spreading and ensure a crispier texture. Simply wrap the dough in plastic wrap and refrigerate for at least 30 minutes.
Read also:Tom Selleck On Treat Williams Death A Heartfelt Tribute To A Hollywood Legend
2. Use a Wafer Iron
While it’s possible to make wafers without a wafer iron, using one ensures even cooking and that signature thin, crispy texture. If you don’t own one, consider investing in a quality model.
3. Experiment with Flavors
Don’t be afraid to get creative! Add a dash of cinnamon, a handful of chocolate chips, or even a sprinkle of sea salt to give your wafers a unique twist.
Creative Ways to Use Wafers
Wafers aren’t just for snacking—they can be incorporated into a variety of dishes to add texture and flavor. Here are some creative ideas to inspire you.
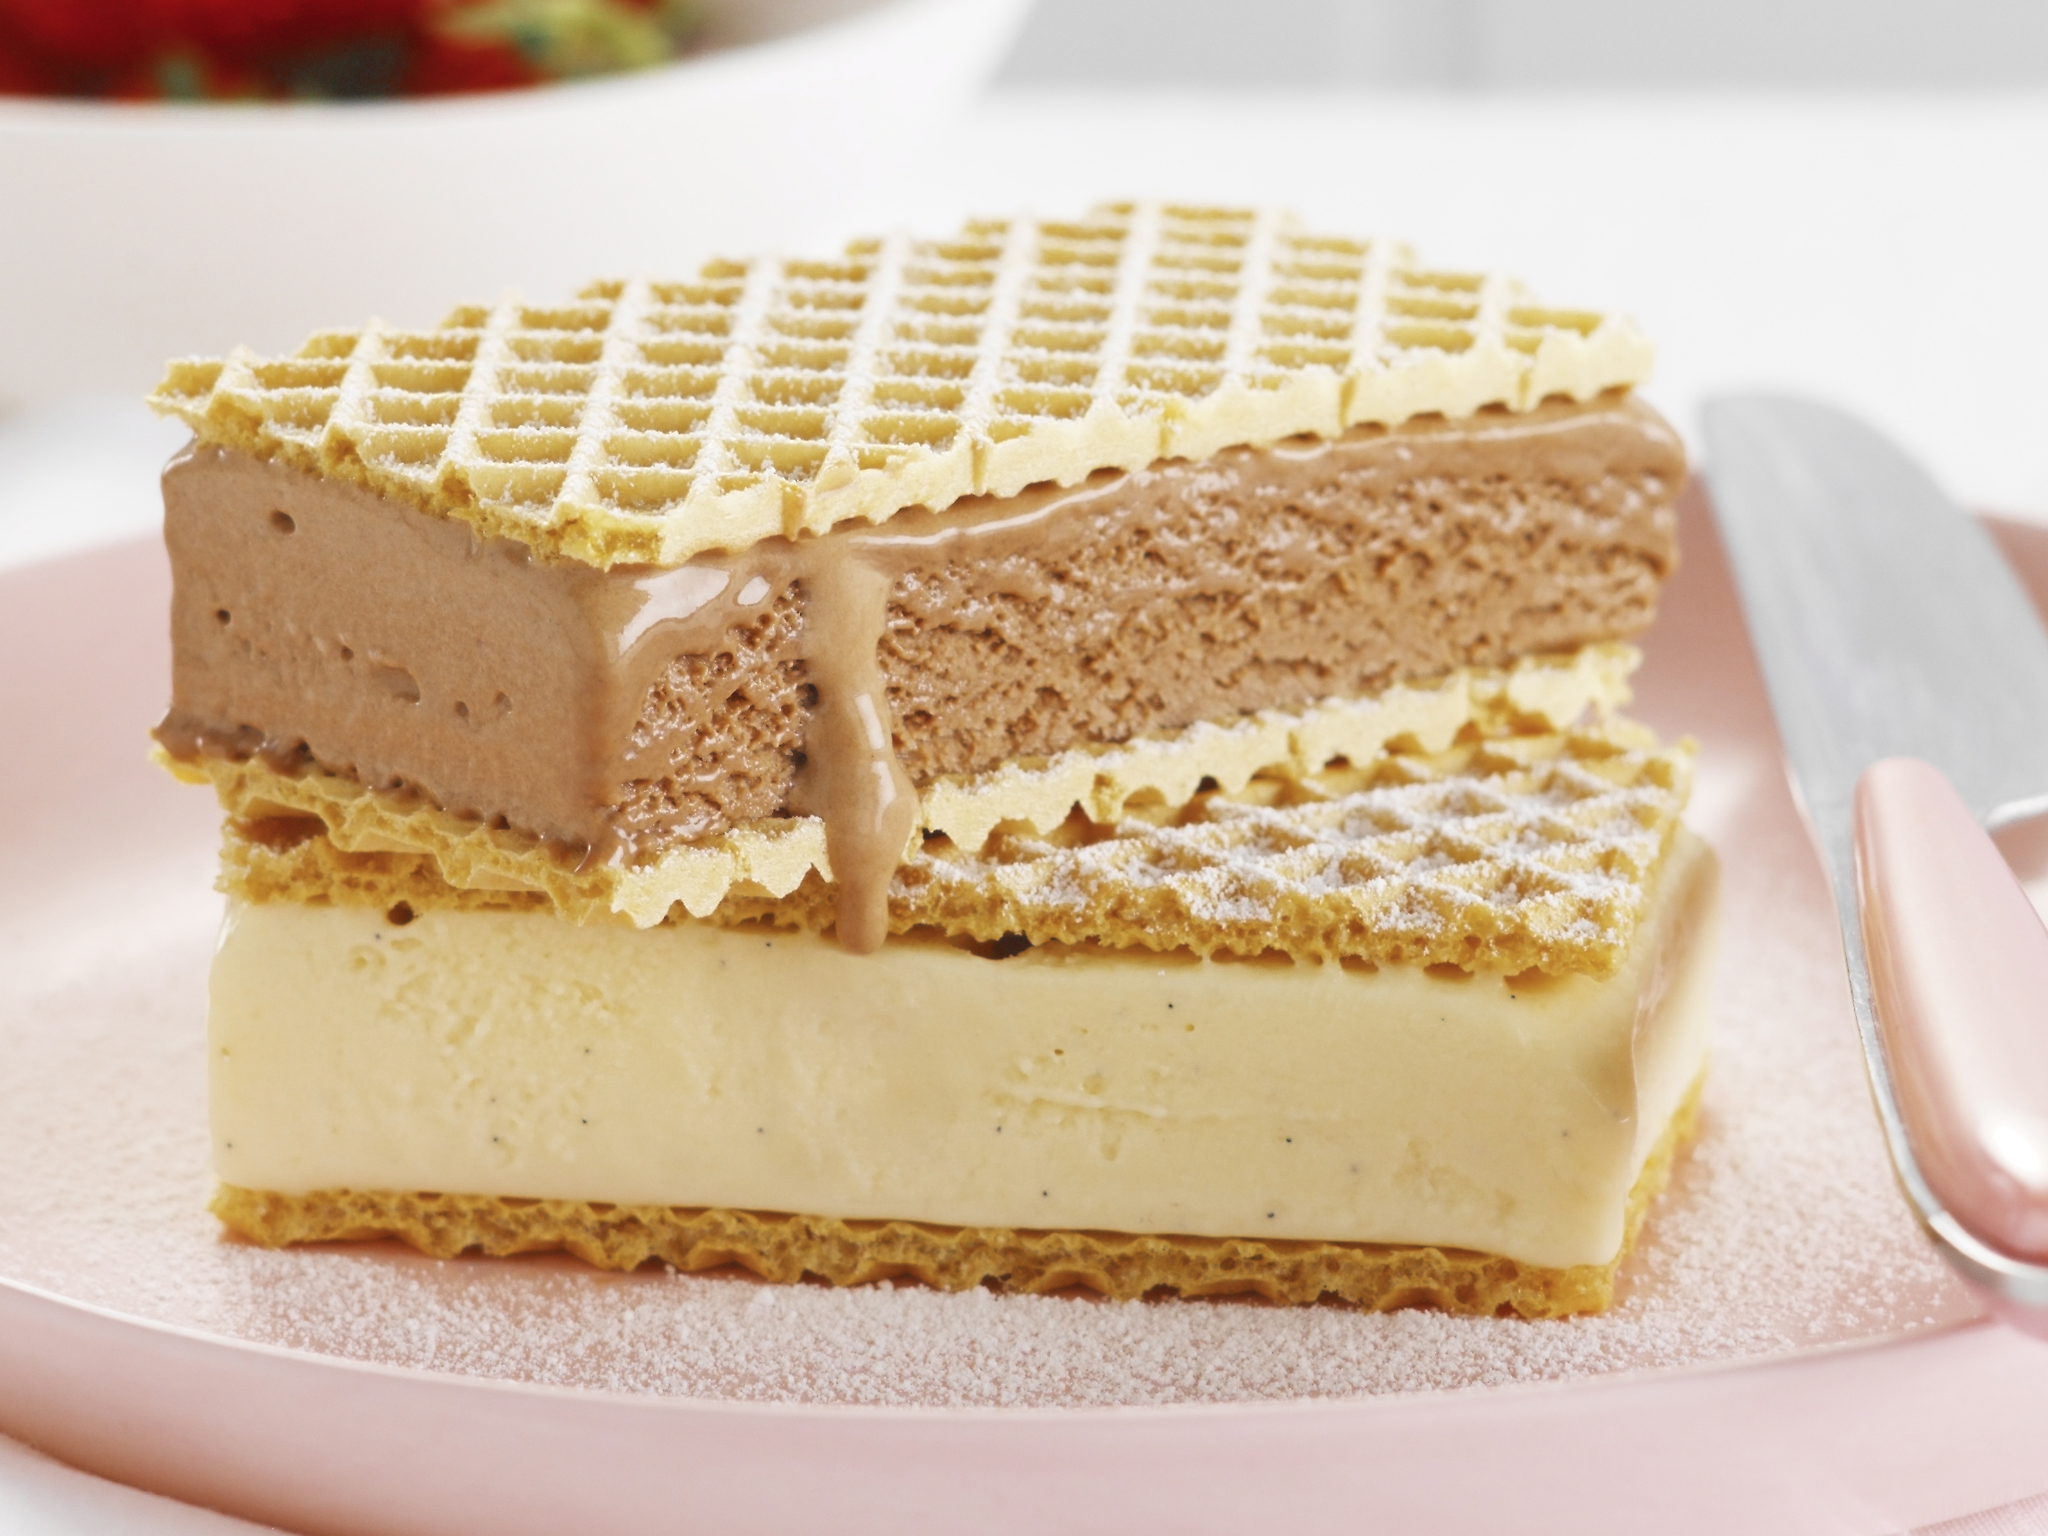
1. Ice Cream Sandwiches
Sandwich a scoop of your favorite ice cream between two wafers for a delightful frozen treat.
2. Dessert Toppings
Crush wafers and sprinkle them over cakes, pies, or yogurt for added crunch.
Can You Make Wafers Without a Wafer Iron?
While a wafer iron is ideal, it’s not the only way to make wafers. You can use a stovetop skillet or even bake them in the oven for a similar result.
Using a Skillet
Heat a nonstick skillet over medium heat and cook small portions of dough until golden brown on both sides.
Baking in the Oven
Spread the dough thinly on a baking sheet and bake at 350°F (175°C) for 8–10 minutes, or until crisp.
What Are the Best Ingredients for Wafers?
The best ingredients for wafers are fresh, high-quality, and suited to your dietary preferences. For example, substituting almond flour for all-purpose flour can make your wafers gluten-free.
Gluten-Free Options
Use gluten-free flour blends and ensure all other ingredients are certified gluten-free.
Vegan Substitutions
Replace butter with coconut oil and use flax eggs instead of regular eggs for a vegan-friendly version.
Wafer Recipe Variations
Once you’ve mastered the basic recipe for wafers, the possibilities for customization are endless. Here are a few variations to try.
Chocolate-Dipped Wafers
Melt dark or milk chocolate and dip half of each wafer into the chocolate. Allow to set on parchment paper.
Spiced Wafers
Add a teaspoon of ground cinnamon or a pinch of nutmeg to the dough for a warm, spiced flavor.
Frequently Asked Questions
How Long Do Wafers Last?
When stored in an airtight container, homemade wafers can last up to two weeks.
Can I Freeze Wafers?
Yes, wafers freeze well. Place them in a freezer-safe bag and store for up to three months.
What Can I Do if My Wafers Are Too Soft?
If your wafers turn out soft, return them to the oven or wafer iron for a few additional minutes to crisp up.
In conclusion, mastering the recipe for wafers is a rewarding endeavor that opens up a world of culinary possibilities. With this guide, you’re well-equipped to create wafers that are as delicious as they are versatile. Happy baking!
For more baking tips, check out this external resource on baking basics.