DIY Kitchen Tile Backsplash: Transform Your Space With Style And Functionality
Table of Contents
Introduction
Are you looking to revamp your kitchen with a fresh, stylish look while adding functionality? A DIY kitchen tile backsplash is the perfect solution! Not only does it protect your walls from spills and splatters, but it also serves as a focal point that can elevate the overall aesthetic of your kitchen. Whether you're a seasoned DIY enthusiast or a beginner, this project is both achievable and rewarding.
Installing a tile backsplash is an excellent way to personalize your kitchen space. With countless tile options, colors, and patterns available, you can create a design that reflects your unique style. Plus, it's a cost-effective way to update your kitchen without undertaking a full renovation. From classic subway tiles to modern geometric designs, the possibilities are endless.
In this comprehensive guide, we’ll walk you through everything you need to know about creating a DIY kitchen tile backsplash. We’ll cover planning, material selection, installation steps, design tips, and maintenance advice. By the end of this article, you’ll be equipped with the knowledge and confidence to tackle this project and transform your kitchen into a space you love.
Read also:What Happened To Maggie In The Walking Dead A Comprehensive Breakdown
Why Choose a Tile Backsplash?
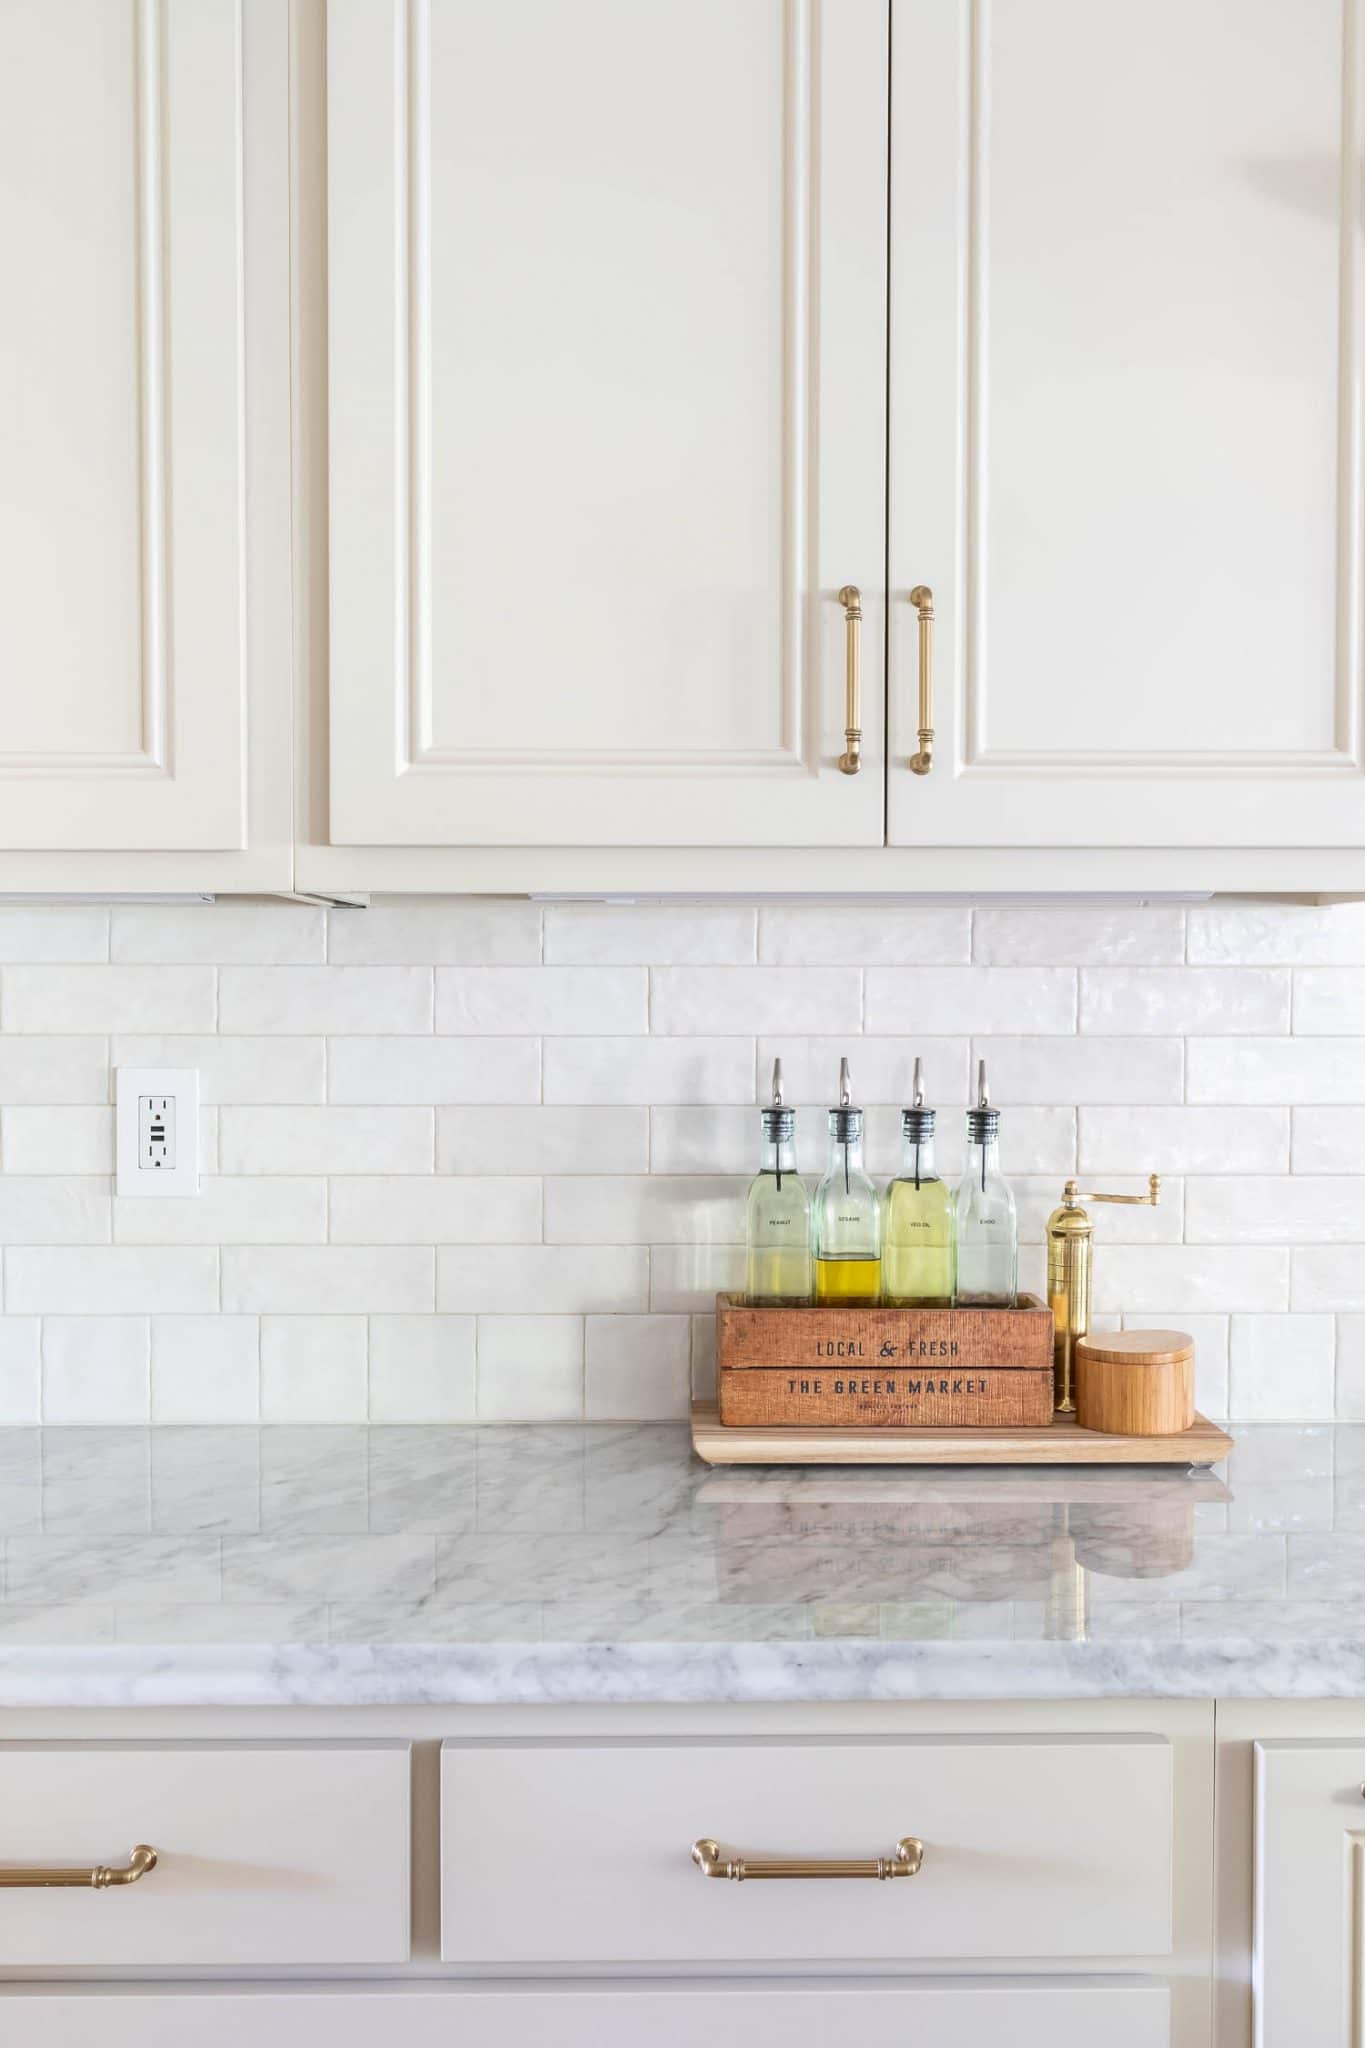
A tile backsplash is more than just a decorative element; it serves several practical purposes. First and foremost, it protects your kitchen walls from water, grease, and food splatters, making cleaning easier and preserving the integrity of your walls. Additionally, a well-designed backsplash can enhance the visual appeal of your kitchen, tying together your cabinets, countertops, and appliances.
Compared to other materials like paint or wallpaper, tile is highly durable and resistant to moisture, heat, and stains. It’s also versatile, allowing you to experiment with different colors, textures, and patterns. Whether you prefer a minimalist look or a bold statement piece, a tile backsplash can adapt to your vision.
Furthermore, a DIY kitchen tile backsplash is a budget-friendly way to add value to your home. According to real estate experts, updated kitchens with stylish backsplashes can increase a home's resale value. This makes it a smart investment for both aesthetics and functionality.
Planning Your DIY Kitchen Tile Backsplash Project
Before diving into the installation process, proper planning is essential. Start by measuring the area where you want to install the backsplash. Use a measuring tape to determine the width and height of the space, and calculate the total square footage. This will help you estimate how many tiles you need to purchase.
Next, decide on the design and layout of your backsplash. Consider factors like the style of your kitchen, the color of your cabinets, and the overall theme of your home. Sketch a rough design or use online tools to visualize how the tiles will look once installed. This step ensures that you achieve the desired aesthetic and avoid costly mistakes.
Finally, set a budget for your project. Factor in the cost of tiles, adhesive, grout, tools, and any additional materials you may need. Planning ahead will help you stay organized and ensure a smooth installation process.
Read also:Austin Ice Cream Shop Murders Unraveling The Chilling Mystery
Choosing the Right Tiles
Selecting the right tiles is crucial for achieving the look and functionality you desire. Here are some popular options to consider:
- Ceramic Tiles: Affordable, durable, and available in a wide range of colors and patterns.
- Porcelain Tiles: Highly resistant to moisture and scratches, making them ideal for kitchens.
- Glass Tiles: Reflect light beautifully and add a modern, sleek look to your kitchen.
- Stone Tiles: Offer a natural, rustic appearance but require more maintenance.
- Metal Tiles: Provide a contemporary and industrial vibe, perfect for modern kitchens.
When choosing tiles, also consider their size and shape. Larger tiles can make a bold statement, while smaller tiles allow for intricate patterns. Additionally, think about the finish—glossy tiles are easier to clean, while matte tiles offer a subtle, understated look.
Tools and Materials You'll Need
To successfully complete your DIY kitchen tile backsplash project, gather the following tools and materials:
- Tiles (based on your chosen design)
- Tile adhesive or mastic
- Grout
- Tile spacers
- Notched trowel
- Tile cutter or wet saw
- Grout float
- Sponge and bucket for cleaning
- Level and measuring tape
- Painter’s tape
Having the right tools on hand will make the installation process smoother and more efficient. If you’re unsure about any of the tools, consider renting them from a local hardware store.
Step-by-Step Installation Guide
Step 1: Prepare the Surface
Begin by cleaning the wall where the backsplash will be installed. Remove any grease, dirt, or debris to ensure proper adhesion. If the wall is uneven, apply a layer of drywall or backer board to create a smooth surface.
Step 2: Plan the Layout
Use a pencil and level to mark the layout of your tiles. Start from the center of the wall and work outward to ensure symmetry. Place tile spacers to maintain even gaps between tiles.
Step 3: Apply Adhesive
Using a notched trowel, spread the adhesive evenly on a small section of the wall. Press the tiles firmly into place, using spacers to maintain consistent spacing.
Step 4: Cut Tiles as Needed
For edges and corners, use a tile cutter or wet saw to trim tiles to size. Measure carefully to ensure a precise fit.
Step 5: Let the Adhesive Dry
Allow the adhesive to dry completely according to the manufacturer’s instructions. This typically takes 24 hours.
Step 6: Apply Grout
Once the adhesive is dry, spread grout over the tiles using a grout float. Work in small sections, pressing the grout into the gaps between tiles.
Step 7: Clean and Seal
Wipe away excess grout with a damp sponge and let it dry. Once dry, apply a grout sealer to protect the surface and enhance its longevity.
Design Tips for a Stylish Backsplash
Creating a stylish backsplash involves more than just choosing beautiful tiles. Here are some tips to elevate your design:
- Mix and Match: Combine different tile shapes, sizes, and colors for a unique look.
- Create a Focal Point: Use patterned or colored tiles to highlight a specific area, such as behind the stove.
- Experiment with Layouts: Try herringbone, chevron, or diagonal patterns for added visual interest.
- Consider Texture: Incorporate textured tiles to add depth and dimension.
- Balance Bold and Neutral: Pair bold tiles with neutral elements to create harmony.
Common Mistakes to Avoid
Even with careful planning, mistakes can happen. Here are some common pitfalls to watch out for:
- Skipping Surface Preparation: A clean, smooth surface is essential for proper adhesion.
- Using the Wrong Adhesive: Ensure the adhesive is suitable for your tile type and kitchen environment.
- Ignoring Grout Lines: Uneven grout lines can ruin the overall appearance of your backsplash.
- Rushing the Process: Take your time to ensure precision and avoid costly errors.
- Forgetting to Seal: Sealing the grout protects it from stains and extends its lifespan.
Maintenance and Care for Your Backsplash
To keep your DIY kitchen tile backsplash looking its best, regular maintenance is key. Wipe down the surface with a damp cloth to remove dirt and grease. For tougher stains, use a mild cleaning solution and a soft sponge.
Avoid using abrasive cleaners or scrub brushes, as they can damage the tiles and grout. Periodically check the grout for signs of wear and reseal it as needed. With proper care, your backsplash will remain beautiful and functional for years to come.
Conclusion
A DIY kitchen tile backsplash is a fantastic way to enhance the beauty and functionality of your kitchen. By following the steps outlined in this guide, you can create a stunning backsplash that reflects your personal style and meets your practical needs. Remember to plan carefully, choose the right materials, and take your time during installation to achieve the best results.
We hope this article has inspired you to take on this rewarding project. If you found this guide helpful, feel free to share it with friends and family who might be interested in updating their kitchens. For more tips and tutorials, explore our other articles on home improvement and design. Happy tiling!