How To Fill Drywall Anchor Holes: A Comprehensive Guide
Are you dealing with unsightly drywall anchor holes and wondering how to fix them? Filling drywall anchor holes is a simple yet crucial task to restore the appearance and integrity of your walls. Whether you're preparing for a fresh coat of paint or simply tidying up your space, this guide will walk you through the process step-by-step. Drywall anchor holes can occur when anchors are removed or when they fail to hold securely. Fortunately, repairing these holes is a manageable DIY project that requires minimal tools and effort.
Repairing drywall anchor holes is not just about aesthetics; it’s also about maintaining the structural integrity of your walls. Ignoring these holes can lead to further damage, such as cracks or larger gaps, which can be more challenging and costly to fix. In this article, we’ll cover everything you need to know about how to fill drywall anchor holes effectively, ensuring a smooth and professional finish.
By following the methods outlined in this guide, you’ll not only improve the look of your walls but also protect them from potential damage. Whether you're a seasoned DIY enthusiast or a beginner, this article will equip you with the expertise and confidence to tackle this common household issue. Let’s dive into the details and get your walls looking as good as new!
Read also:Michelle Destiny Childs A Comprehensive Guide To Her Life And Achievements
Table of Contents
Understanding Drywall Anchor Holes
Drywall anchor holes are small openings left behind when anchors are removed from the wall. These holes can vary in size depending on the type of anchor used and the weight it supported. Common types of anchors include plastic wall anchors, toggle bolts, and molly bolts, each leaving behind a unique hole size and shape.
While small anchor holes may seem insignificant, they can compromise the wall's surface if left untreated. Dust, dirt, and moisture can accumulate in these holes, leading to further damage. Additionally, these holes can become eyesores, especially if your walls are painted or wallpapered. Understanding the nature of these holes is the first step in addressing the issue effectively.
Why Anchor Holes Need Attention
Ignoring drywall anchor holes can lead to more than just cosmetic issues. Over time, these holes can expand due to wall movement or temperature changes, creating cracks or larger gaps. This can weaken the structural integrity of the wall, making it less capable of supporting fixtures or decorations in the future.
Tools and Materials You’ll Need
Repairing drywall anchor holes doesn’t require an extensive toolkit. With a few basic materials and tools, you can achieve professional-looking results. Here’s a list of what you’ll need:
- Spackling compound or joint compound
- Putty knife or drywall knife
- Sandpaper (medium and fine grit)
- Wall primer
- Paint (matching your wall color)
- Clean cloth or sponge
- Utility knife (optional)
Having these tools on hand will ensure a smooth and efficient repair process. Each item plays a specific role in achieving a seamless finish, from filling the hole to blending it with the surrounding wall.
Choosing the Right Filler
When selecting a filler, consider the size of the hole. For small holes, spackling compound works well due to its quick-drying properties. Larger holes may require joint compound, which provides more durability and can be sanded down for a smooth finish.
Read also:Precious Moments Figurines A Timeless Collection Of Sentimental Art
Step-by-Step Guide to Filling Drywall Anchor Holes
Repairing drywall anchor holes is a straightforward process. Follow these steps to ensure a professional and durable repair:
Step 1: Clean the Hole
Before applying any filler, ensure the hole is clean and free of debris. Use a clean cloth or sponge to remove dust and dirt. If the edges of the hole are uneven, you can use a utility knife to trim them for a smoother surface.
Step 2: Apply the Filler
Using a putty knife, apply a small amount of spackling or joint compound to the hole. Press the filler firmly into the hole to ensure it fills the space completely. Smooth the surface with the knife, removing any excess filler.
Step 3: Let It Dry
Allow the filler to dry completely according to the manufacturer’s instructions. Drying times can vary depending on the product and the size of the hole. Avoid rushing this step, as premature sanding can damage the repair.
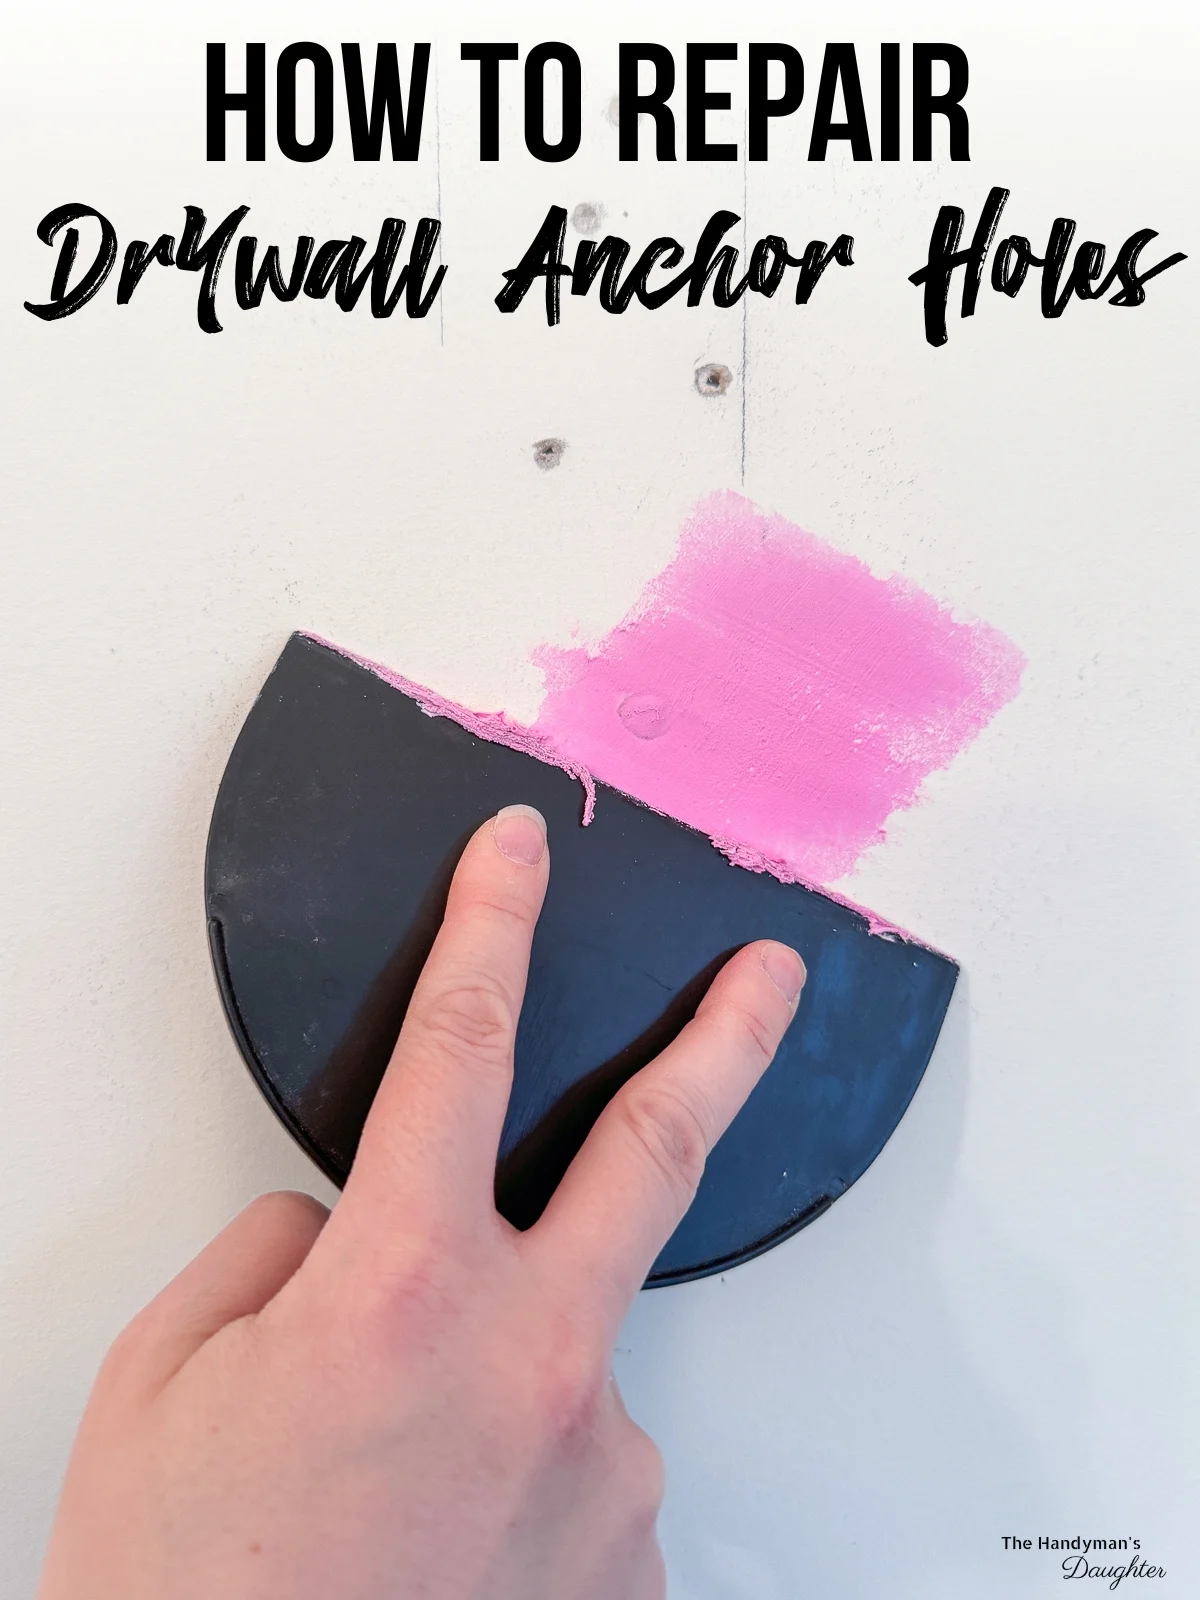
Step 4: Sand the Surface
Once the filler is dry, use medium-grit sandpaper to smooth the surface. Follow up with fine-grit sandpaper for a polished finish. Wipe away any dust with a clean cloth before proceeding.
Step 5: Prime and Paint
Apply a coat of wall primer to the repaired area to ensure even paint absorption. Once the primer is dry, paint over the area with a color that matches your wall. This final step will make the repair virtually invisible.
Common Mistakes to Avoid
While filling drywall anchor holes is a simple task, there are common mistakes that can compromise the quality of the repair. Here are a few pitfalls to watch out for:
- Skipping the cleaning step, which can prevent the filler from adhering properly.
- Using too much filler, leading to an uneven surface.
- Rushing the drying process, which can cause cracks or uneven texture.
- Neglecting to prime before painting, resulting in a patchy finish.
How to Fix Mistakes
If you make a mistake, don’t panic! Most errors can be corrected by sanding down the area and starting over. For example, if the filler is uneven, sand it down and reapply a thin layer for a smoother finish.
Advanced Tips for a Flawless Finish
If you’re aiming for a flawless repair, consider these advanced tips:
- Use a damp sponge to blend the filler with the surrounding wall for a seamless transition.
- For larger holes, reinforce the area with a drywall patch before applying filler.
- Invest in high-quality tools, such as a flexible putty knife, for better control.
When to Call a Professional
While most drywall anchor hole repairs are DIY-friendly, some situations may require professional assistance. For example, if the hole is exceptionally large or if the wall has structural damage, it’s best to consult a professional to avoid further complications.
Maintaining Your Walls After Repair
After repairing drywall anchor holes, it’s essential to maintain your walls to prevent future damage. Here are a few tips:
- Avoid overloading anchors to prevent them from pulling out and creating new holes.
- Regularly inspect your walls for signs of wear or damage.
- Use wall anchors designed for the weight and type of fixtures you plan to hang.
Preventive Measures
Preventing drywall anchor holes is as important as repairing them. Choose the right type of anchor for the job and ensure it’s installed correctly to minimize the risk of damage.
Frequently Asked Questions
Can I Use Toothpaste to Fill Drywall Anchor Holes?
While toothpaste can temporarily fill small holes, it’s not a long-term solution. Toothpaste lacks the durability and adhesion of spackling or joint compound, making it prone to cracking and falling out over time.
How Long Does It Take to Repair a Drywall Anchor Hole?
The repair process typically takes 1-2 hours, including drying time. However, larger holes or multiple repairs may require additional time.
Conclusion
Filling drywall anchor holes is a simple yet essential task that can significantly improve the appearance and durability of your walls. By following the steps outlined in this guide, you can achieve professional results without the need for expensive tools or professional help.
Remember to clean the hole thoroughly, use the appropriate filler, and take your time with each step for the best outcome. If you encounter challenges or have larger repairs, don’t hesitate to seek professional assistance.
We hope this guide has been helpful in addressing your drywall anchor hole concerns. Feel free to leave a comment or share this article with others who might find it useful. For more tips and DIY guides, explore our other articles on home improvement and maintenance!